For Day 71, we used Wikipedia’s API to fetch places near a set of coordinates. I had no idea this was a thing, and I already have an existing app idea that I think could leverage this. #100DaysOfSwiftUI
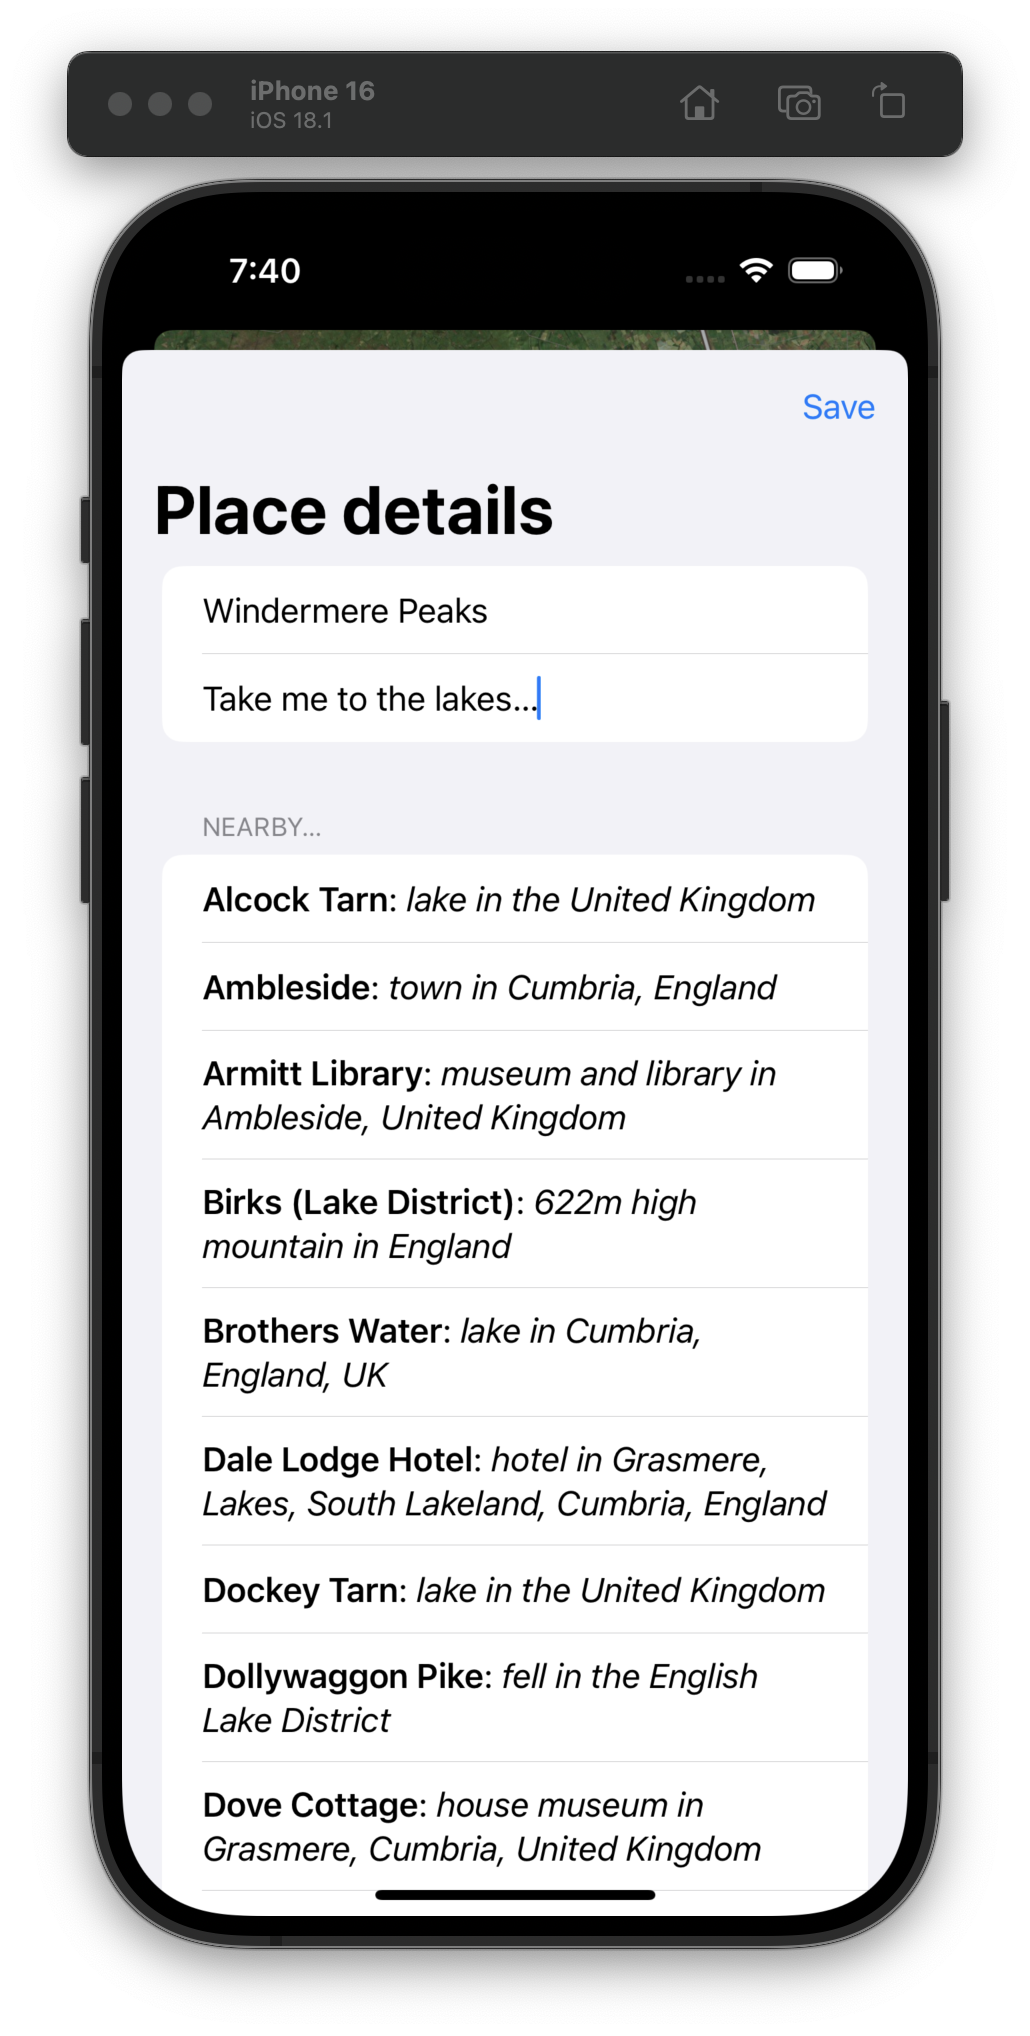
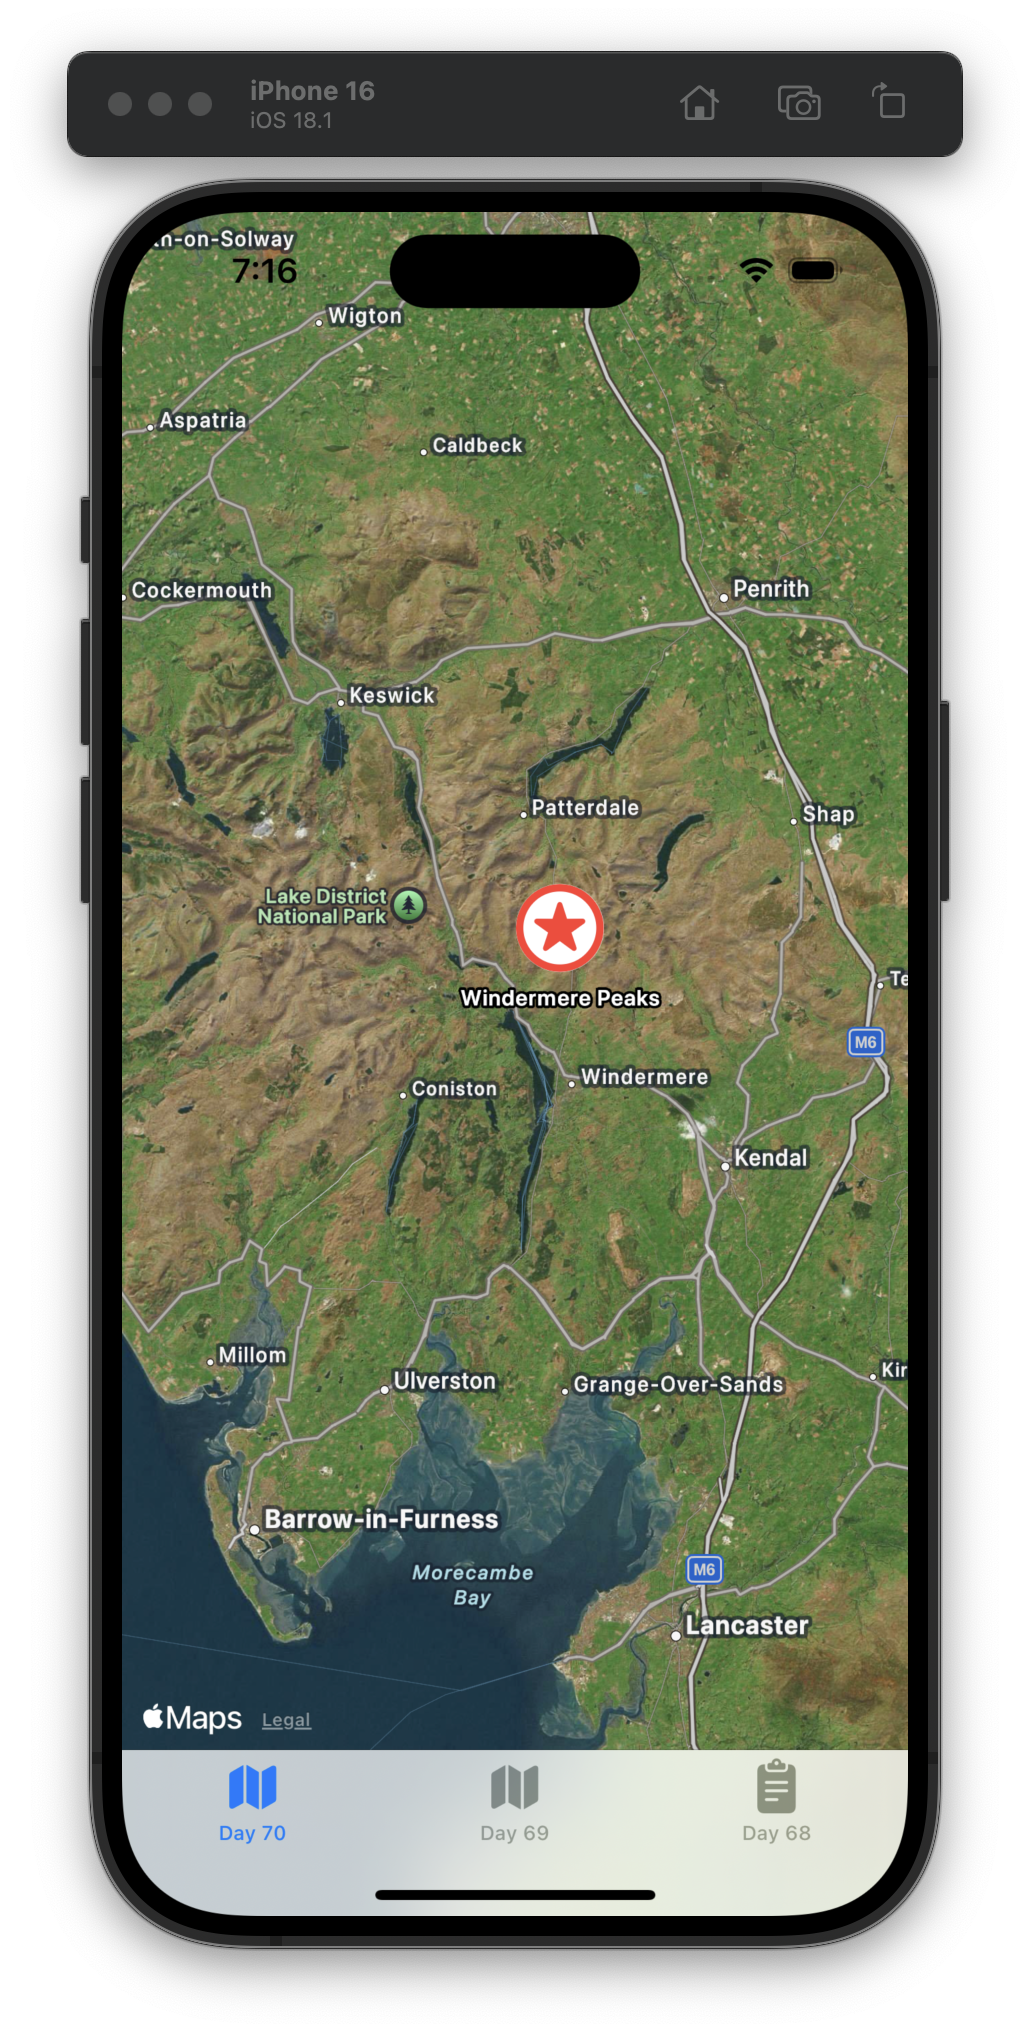
For Day 70 we added the ability to pin locations on a map and edit them.
We were supposed to use .onLongPressGesture, but I couldn’t get it to work in the previews or simulator, so I just used another .onTapGesture. #100DaysOfSwiftUI
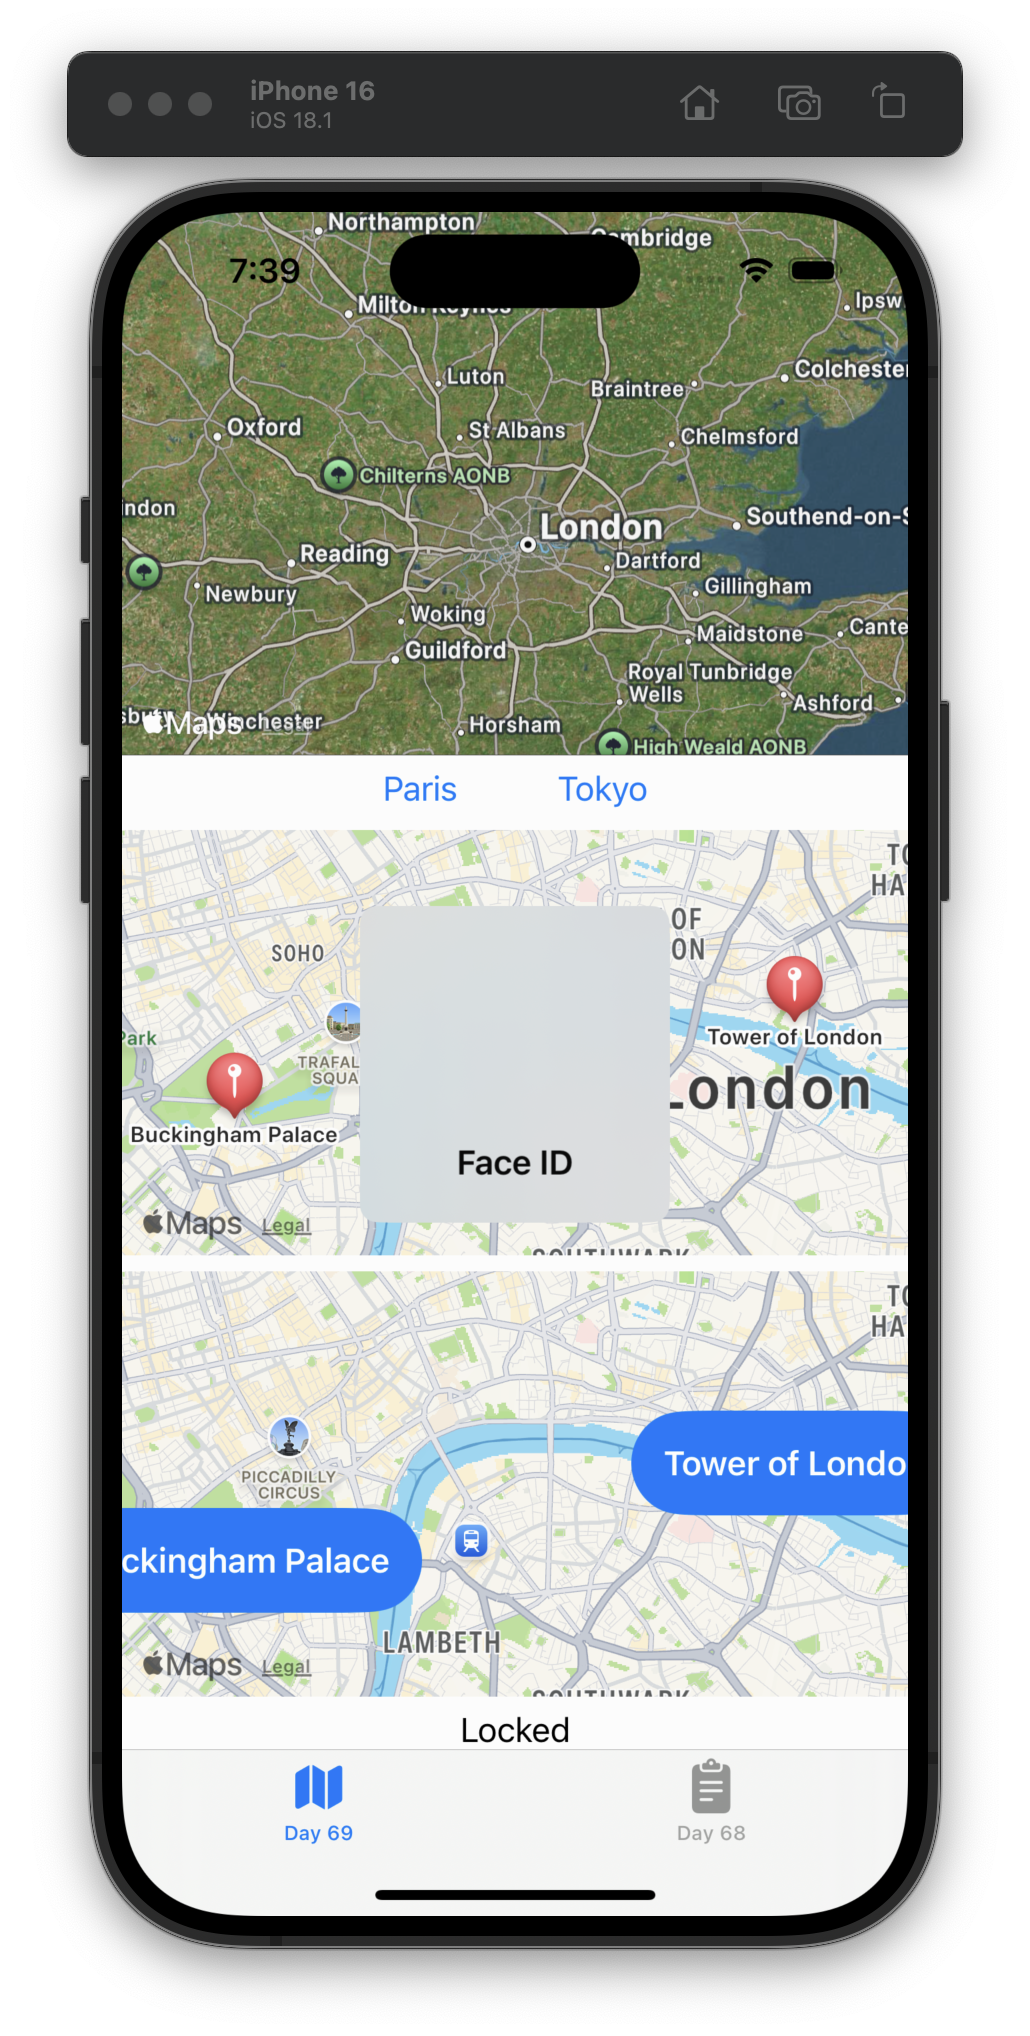
Day 69 was short: we learned how to 1) add different types of maps and 2) use Face ID to unlock the app. #100DaysOfSwiftUI
Day 68 has been some of the most interesting content (from a language-learning perspective) in a while.
First, yes the method is just called
<, which is the “less than” operator. It’s the job of the method to decide whether one user is “less than” (in a sorting sense) another, so we’re adding functionality to an existing operator. This is called operator overloading, and it can be both a blessing and a curse.
I don’t think I’ve ever worked in a language with operator overloading and it definitely makes me nervous about maintainability. #100DaysOfSwiftUI
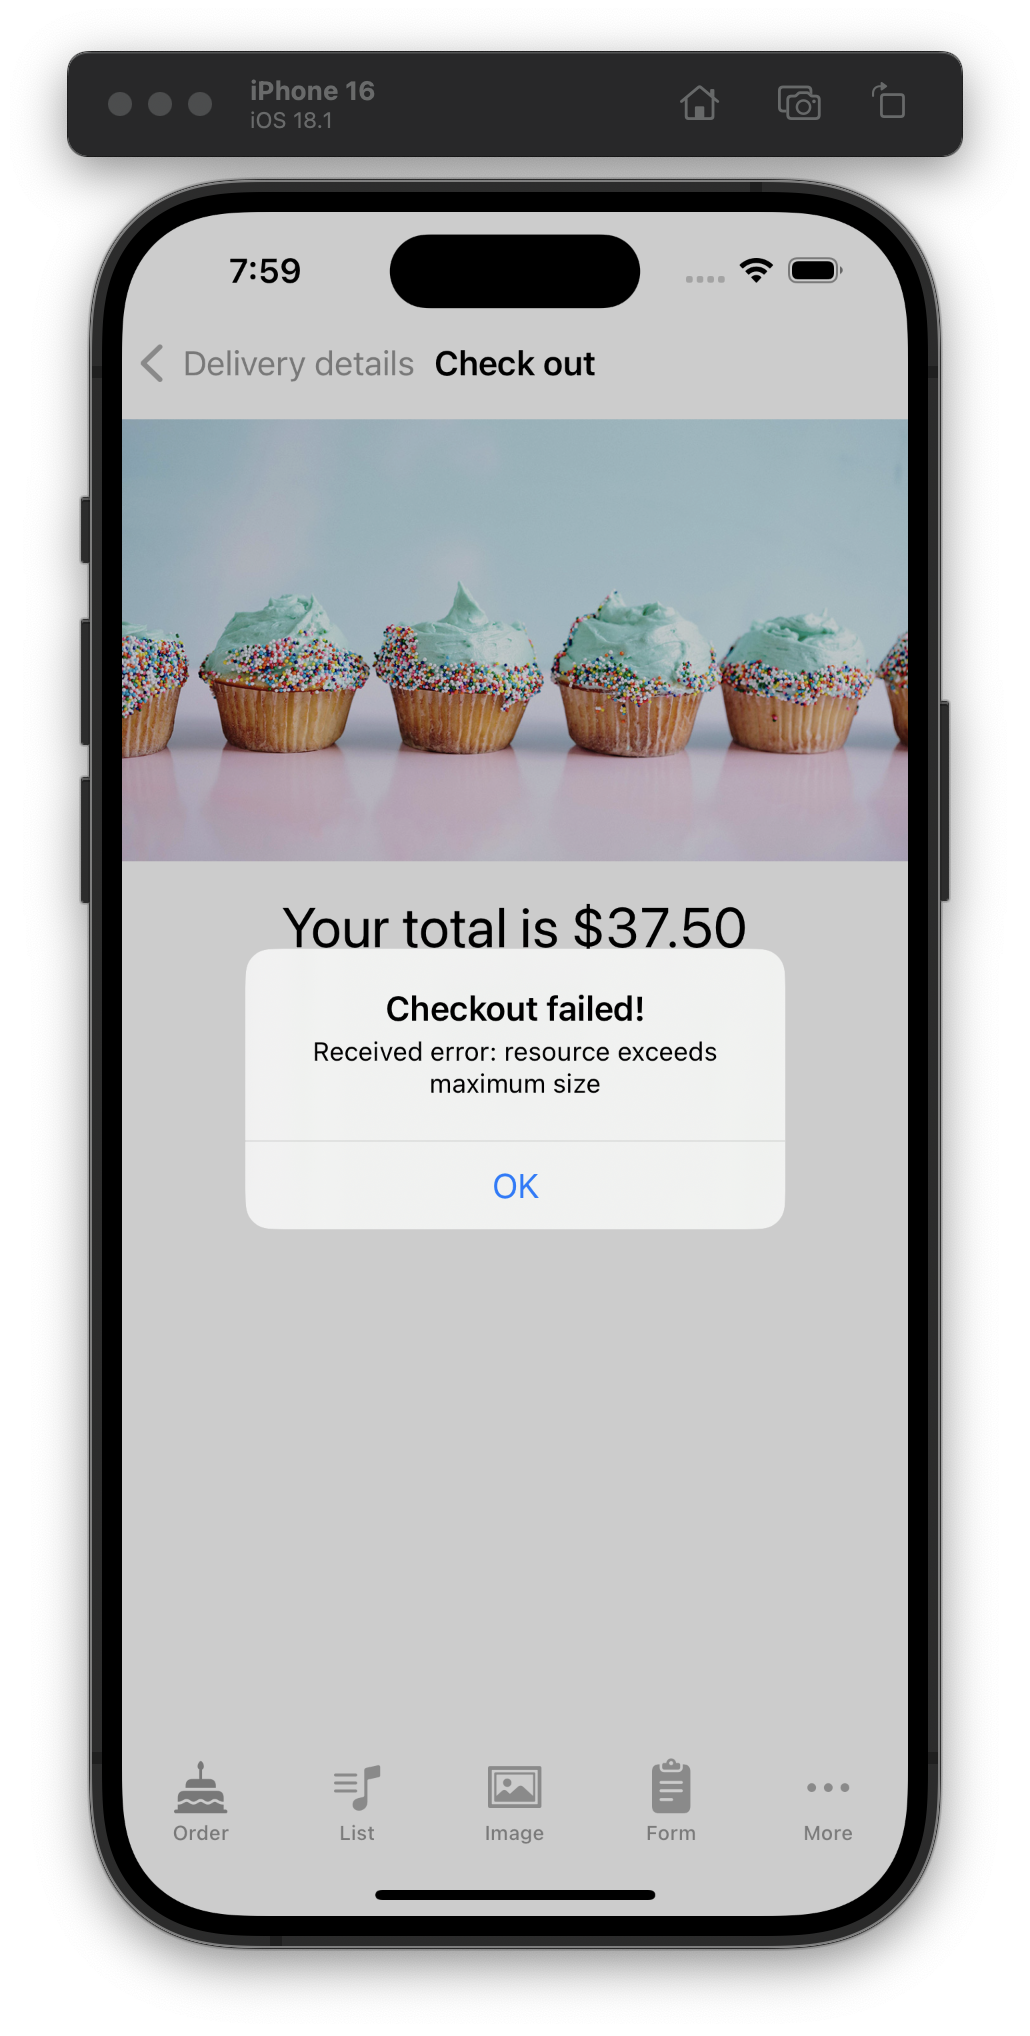
Day 67 is the last day for this particular project, so we had a review quiz (got 12/12) and added some features to the app without any code prompts, just requirements.
I’m always a little nervous when the challenges are easy… what did I miss? 😅 #100DaysOfSwiftUI
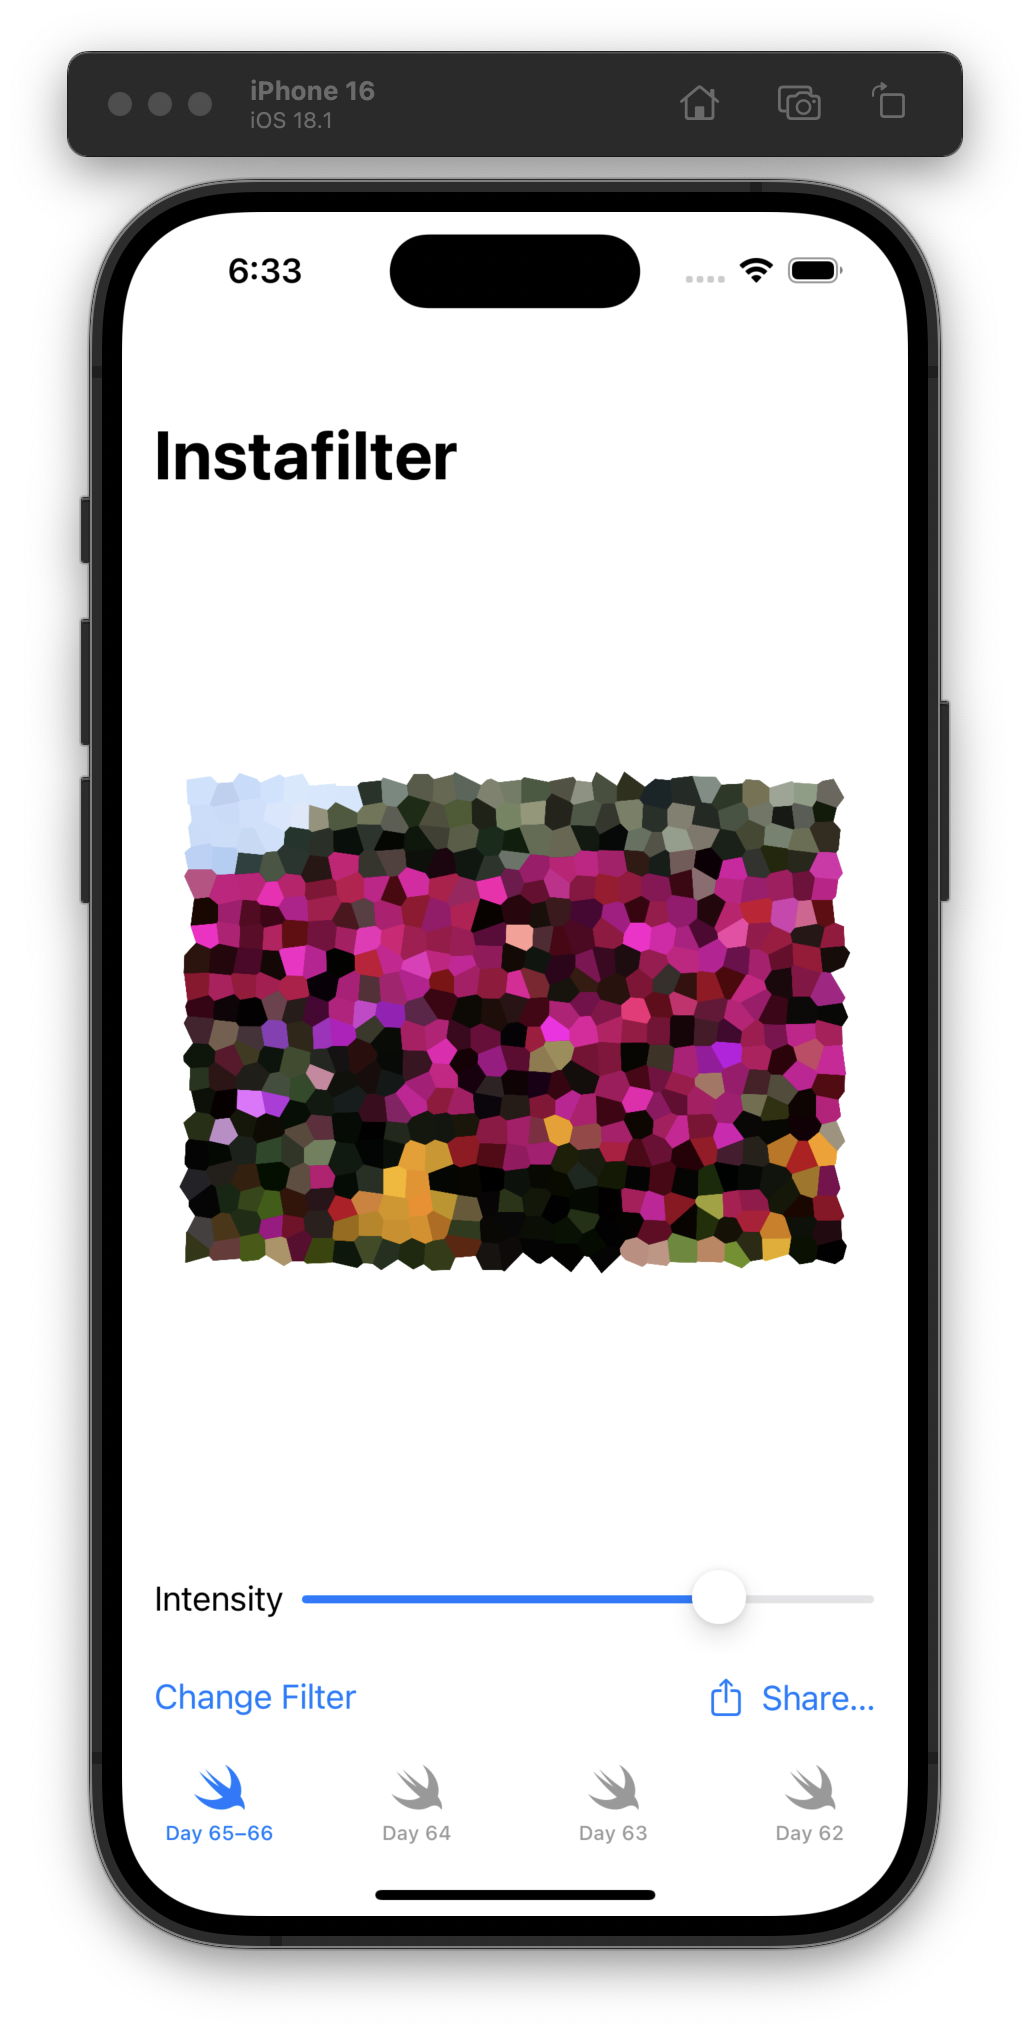
Back at it after a little Thanksgiving break and we’ve run into our first (I think) need to use @MainActor.
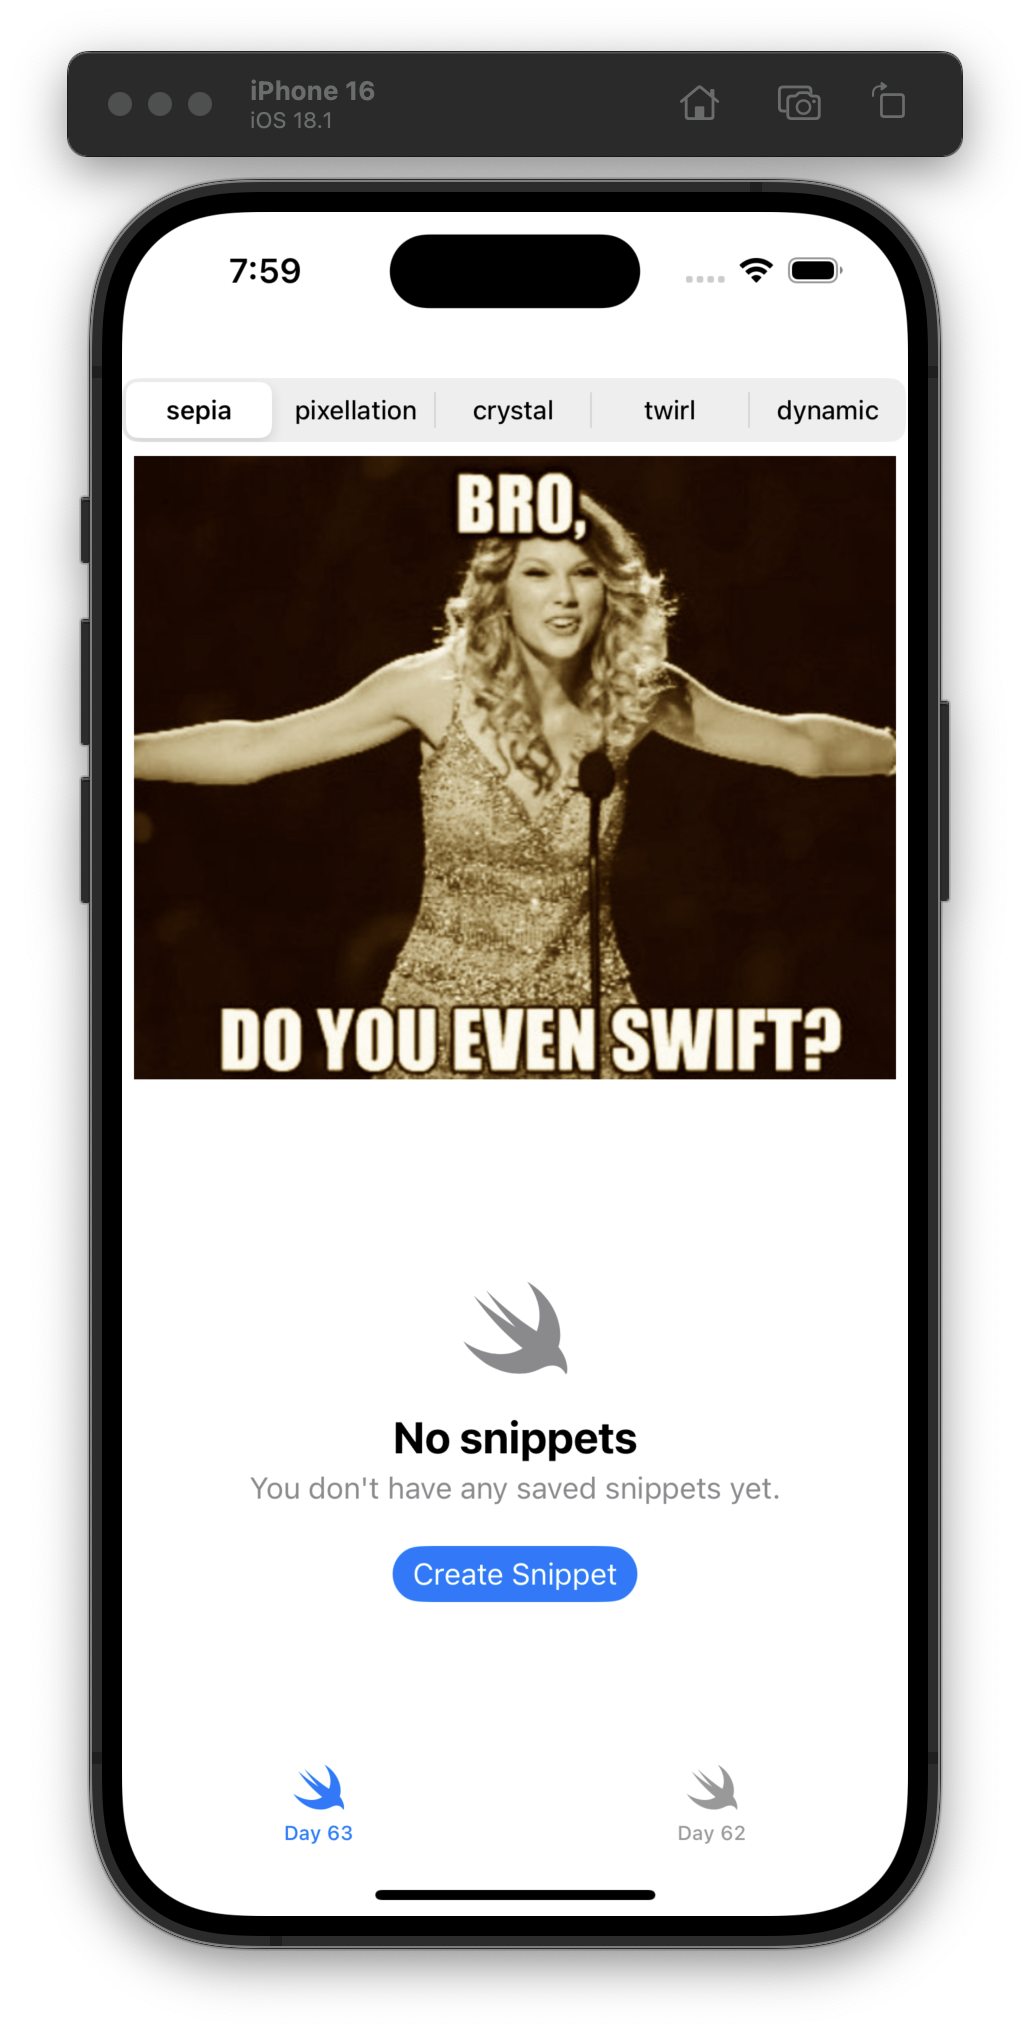
Today we added the ability to change image filters and share the resulting image. #100DaysOfSwiftUI
Day 65 and this sort of thing still gets me:
We can then call that whenever our
selectedItemproperty changes, by attaching anonChange()modifier somewhere inContentView– it really doesn’t matter where, but attaching it to thePhotosPickerwould seem sensible.
We covered modifiers and building our own much earlier in the course, but I still don’t have a good mental model for how/why you can put some of them anywhere and they’ll work. #100DaysOfSwiftUI
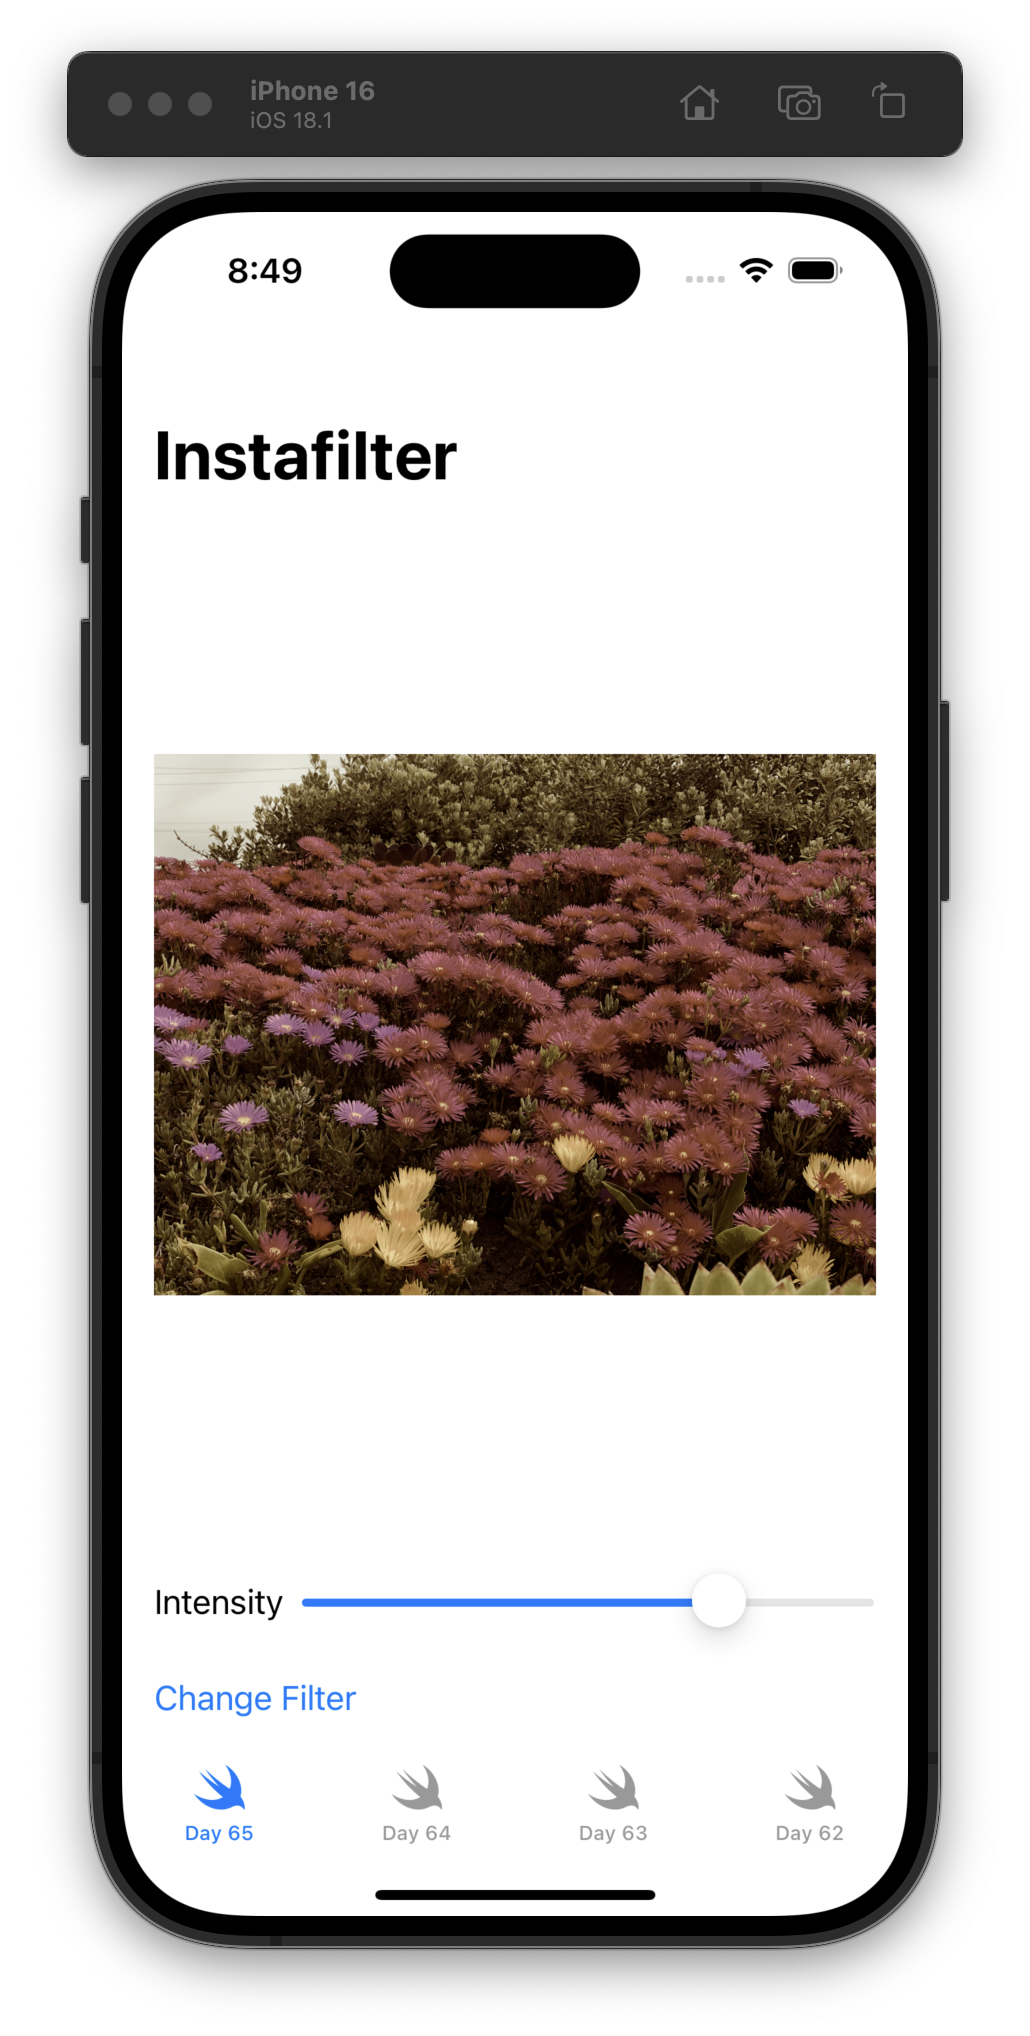
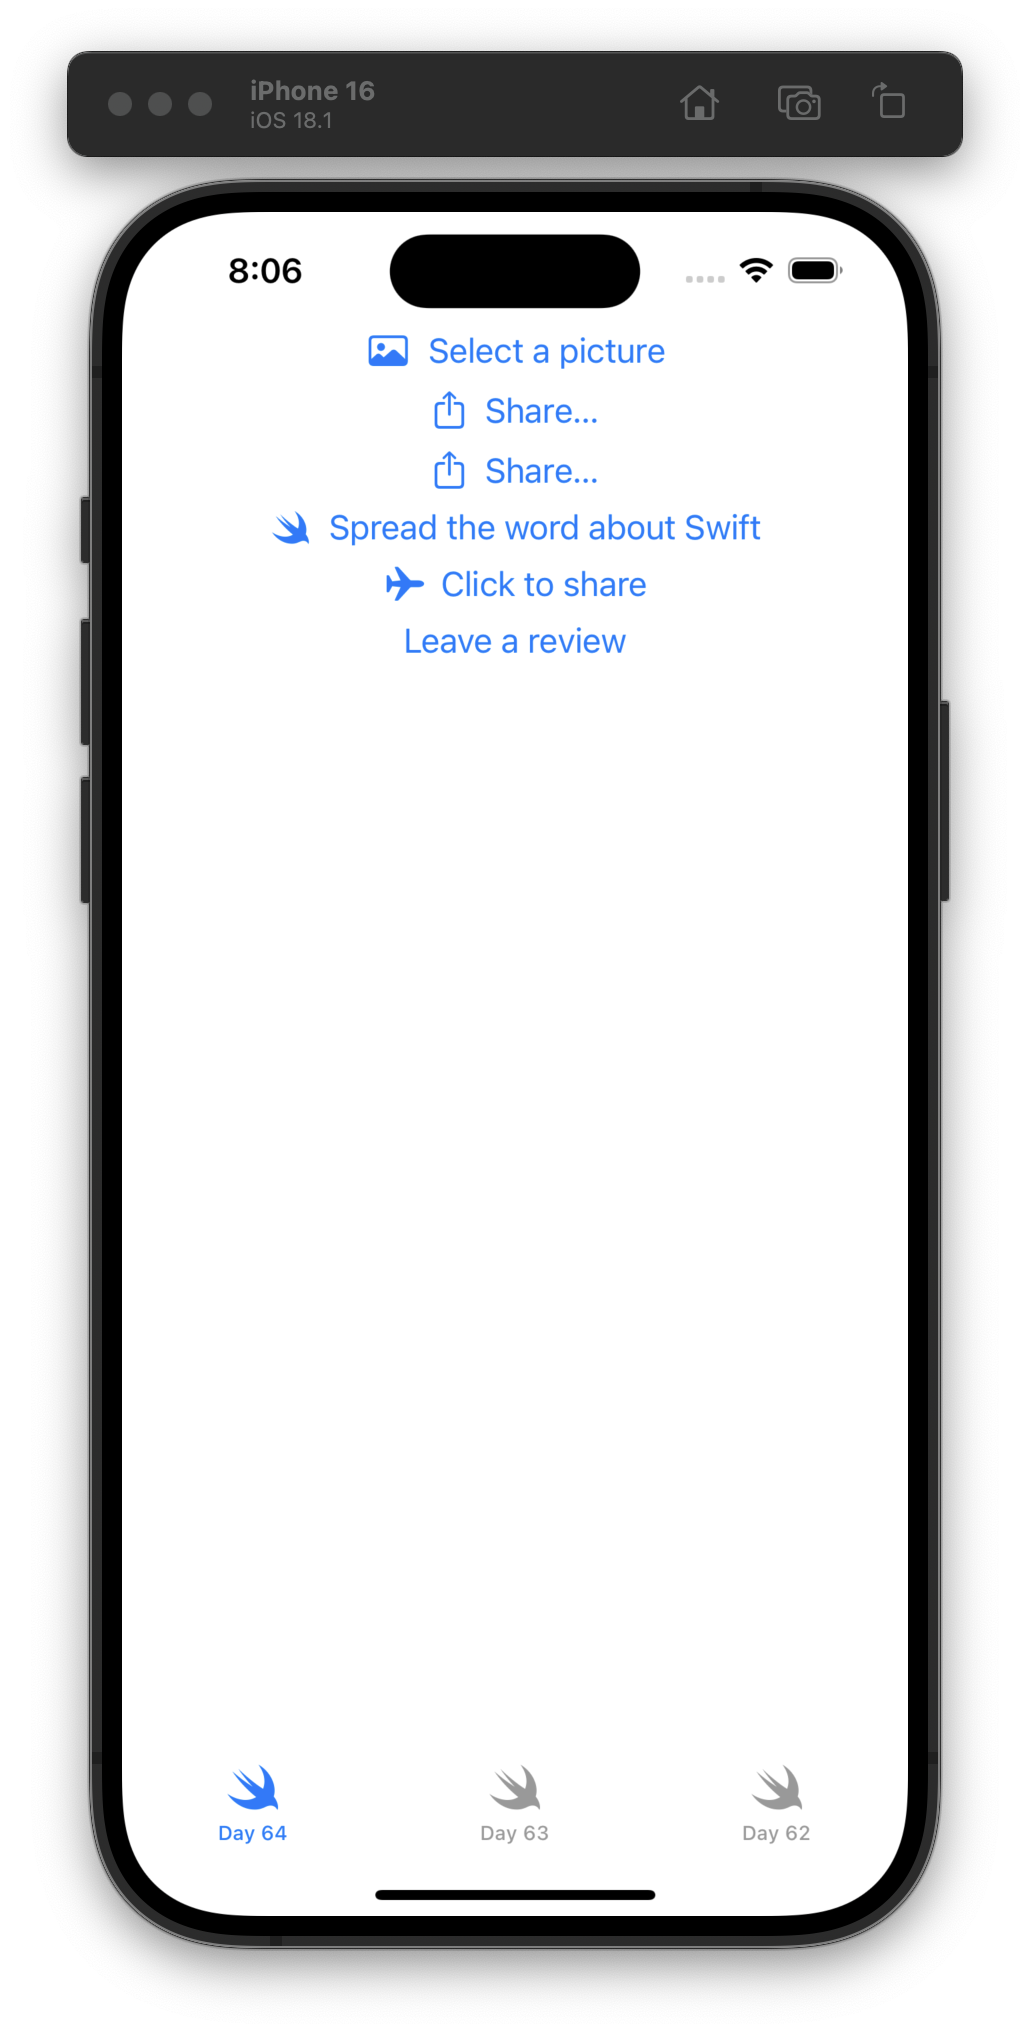
For Day 64 we learned how to use PhotosPicker to… let the user pick photos, use ShareLink to… create share links, and call requestReview() to… request the user leave a review of our app! #100DaysOfSwiftUI
For Day 63, we learned about the different Image APIs available: Image, UIImage, CGImage, and CIImage. We also tried out ContentUnavailableView!
I continued my normal practice of keeping all the sample code in the project and building UI to see it all. #100DaysOfSwiftUI
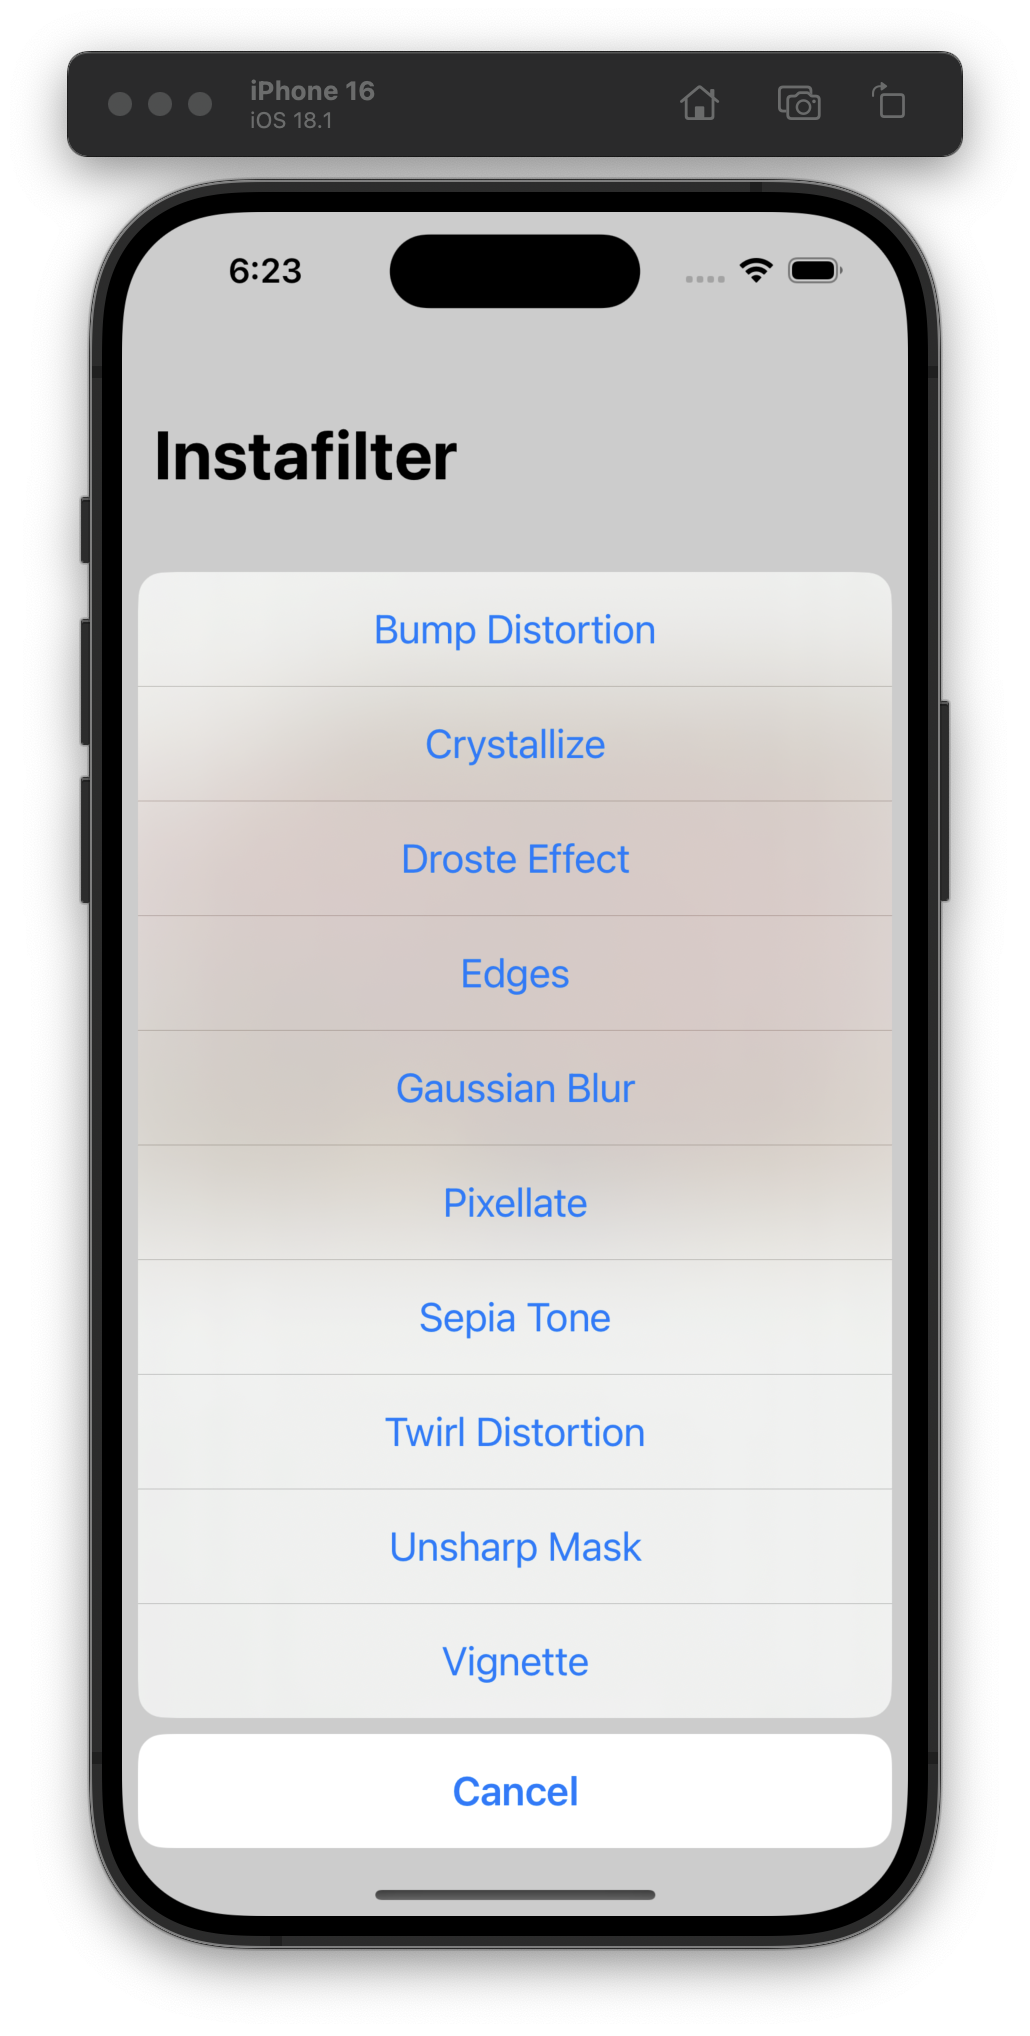
For Day 62, I liked that we were shown “Open Quickly” in Xcode and told how to find the definition of a generated interface. I don’t fully understand it now, but I know I will in a couple years.
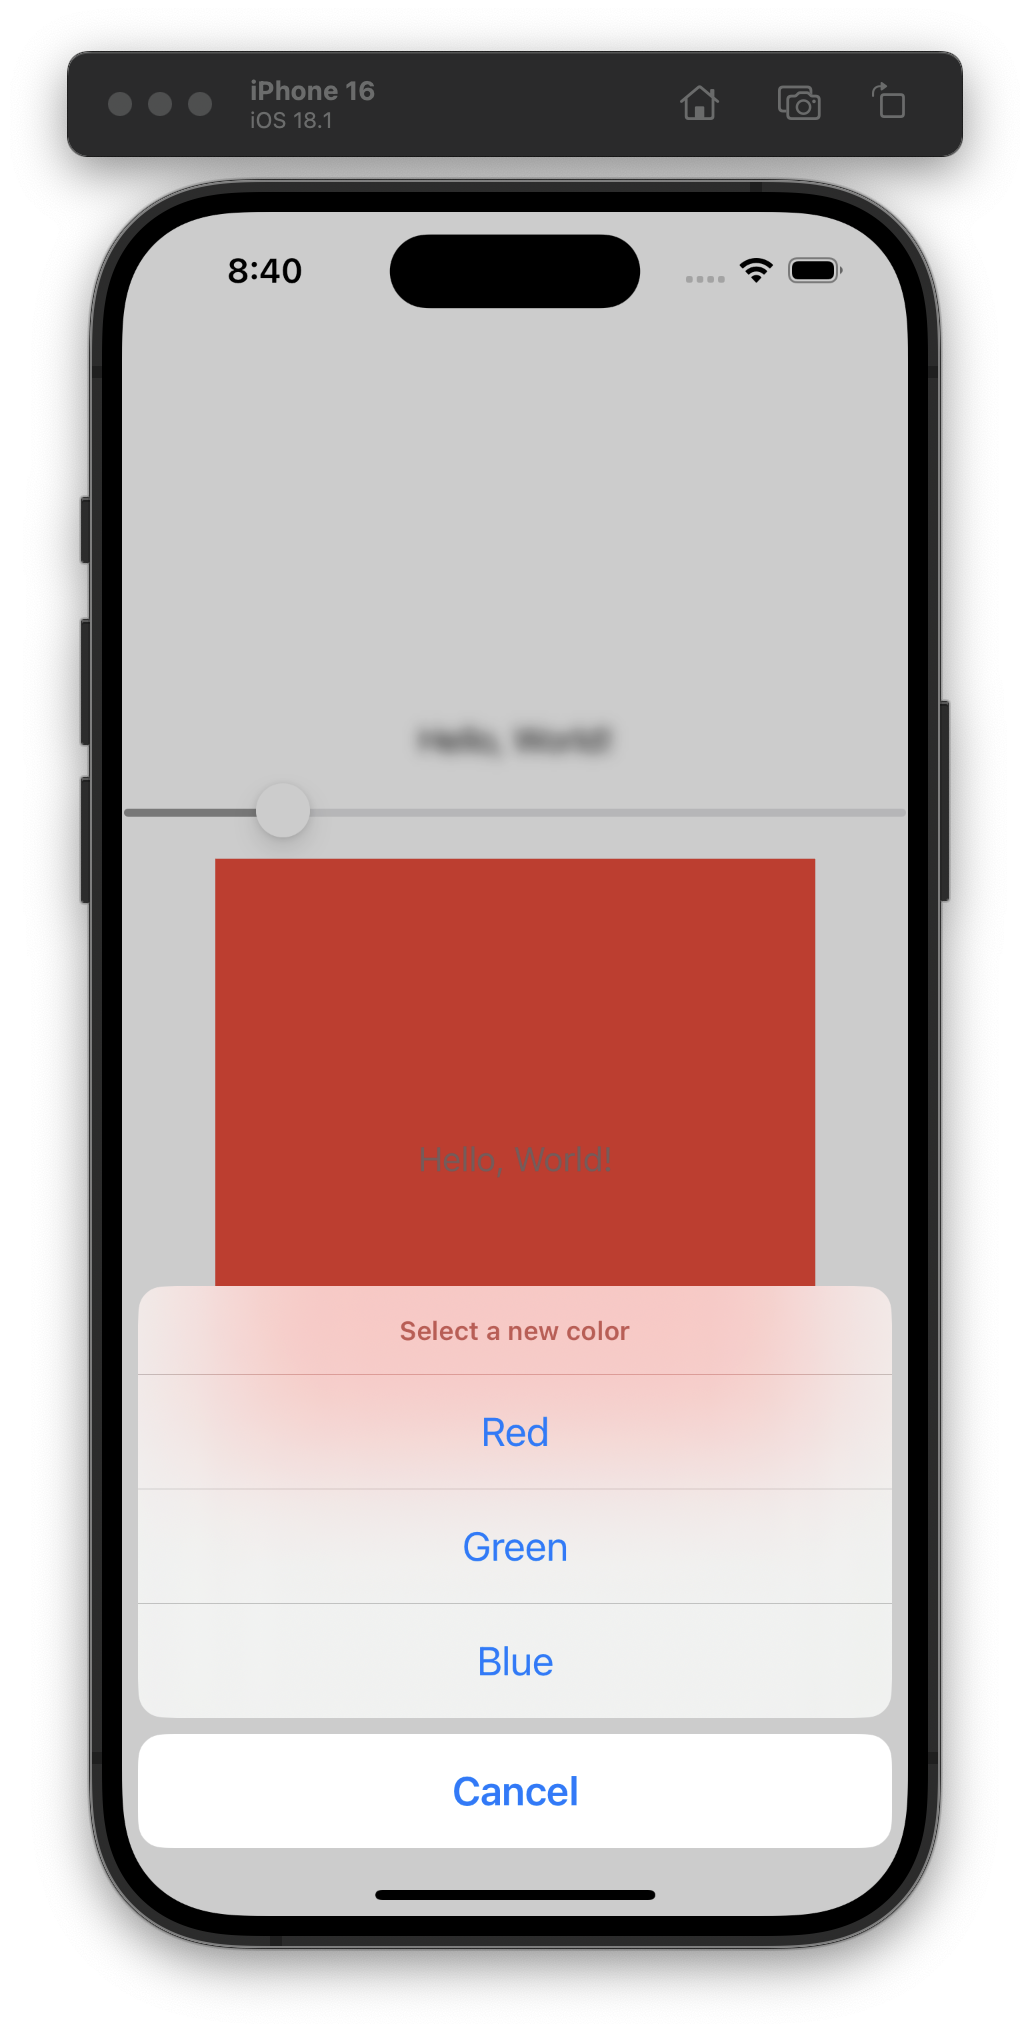
Oh, and for the start of a new project, we played around with confirmationDialog(). #100DaysOfSwiftUI
Nope, today was the hardest challenge.
I thought it was weird that yesterday’s challenge didn’t require us to use SwiftData (when we had just spent a bunch of days working with it).
Day 61, the other shoe drops—we need to rewrite yesterday’s app to use SwiftData. #100DaysOfSwiftUI
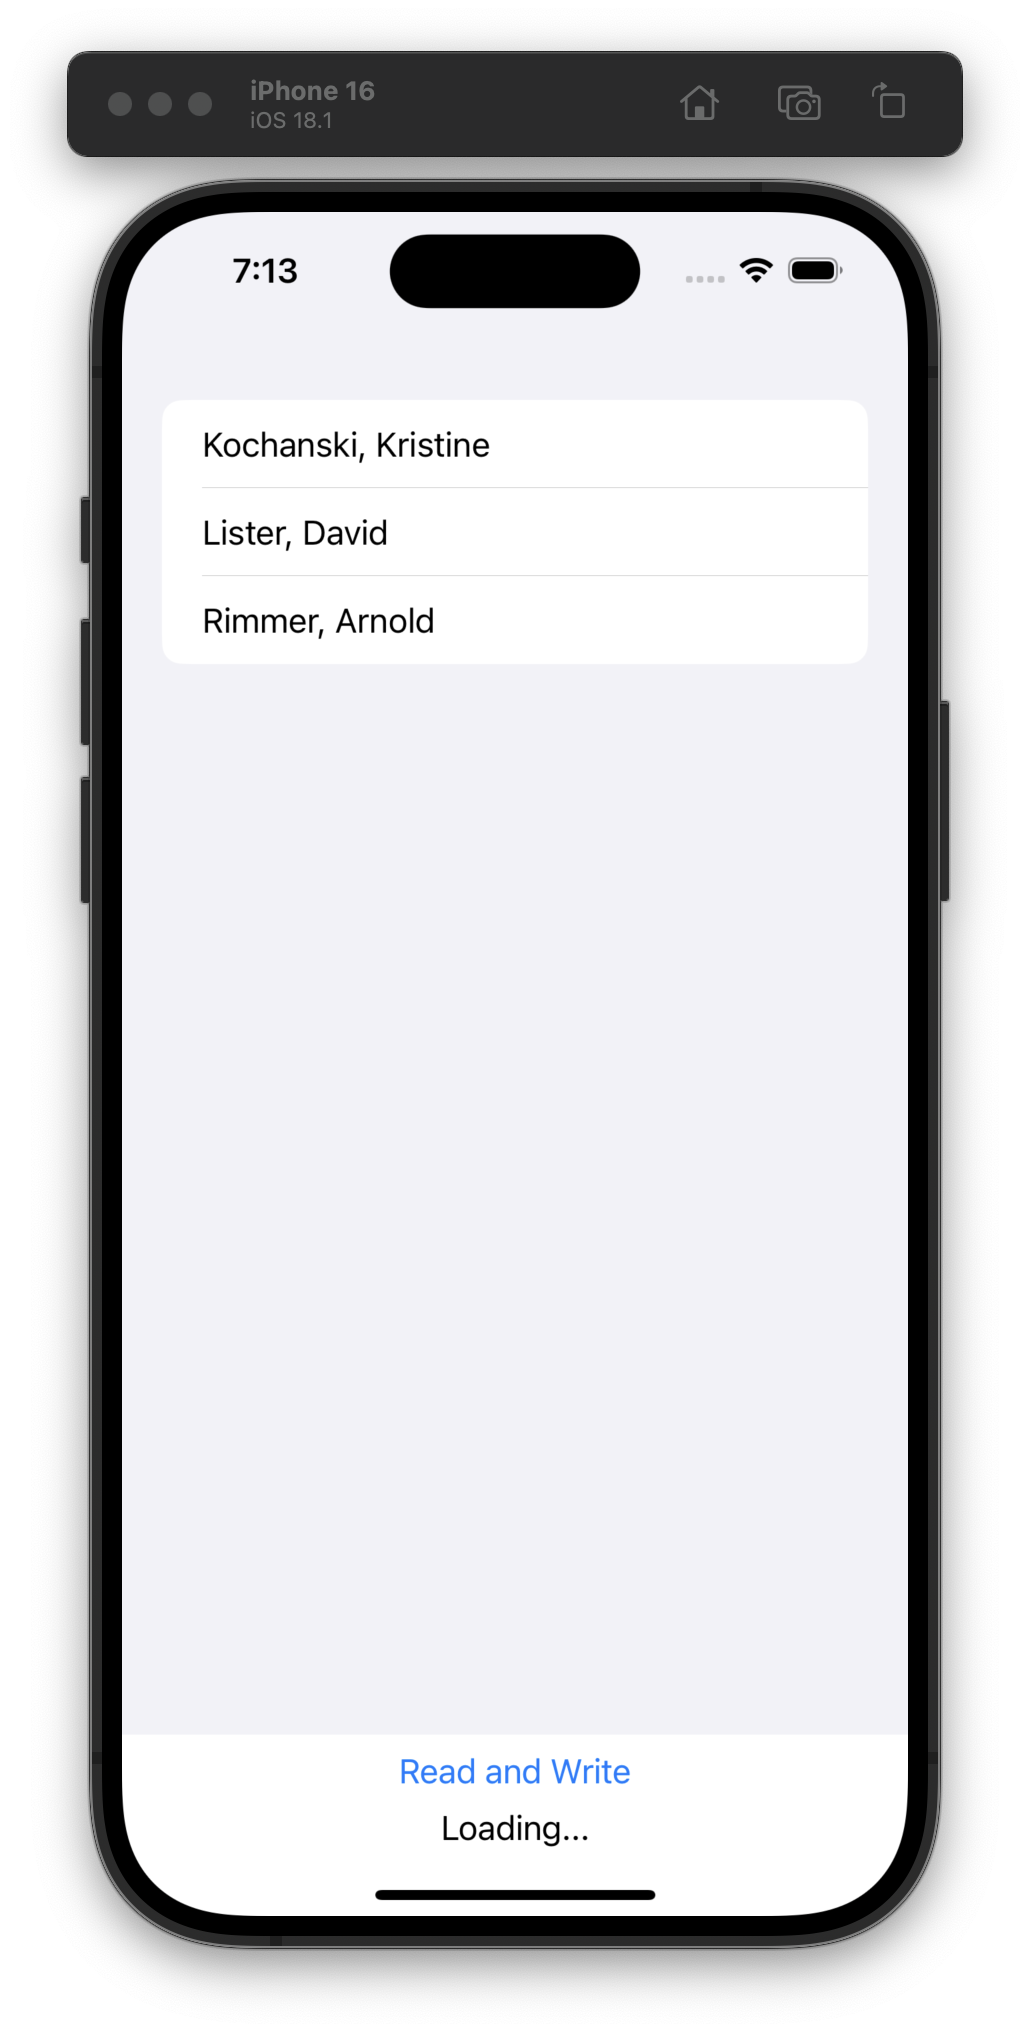
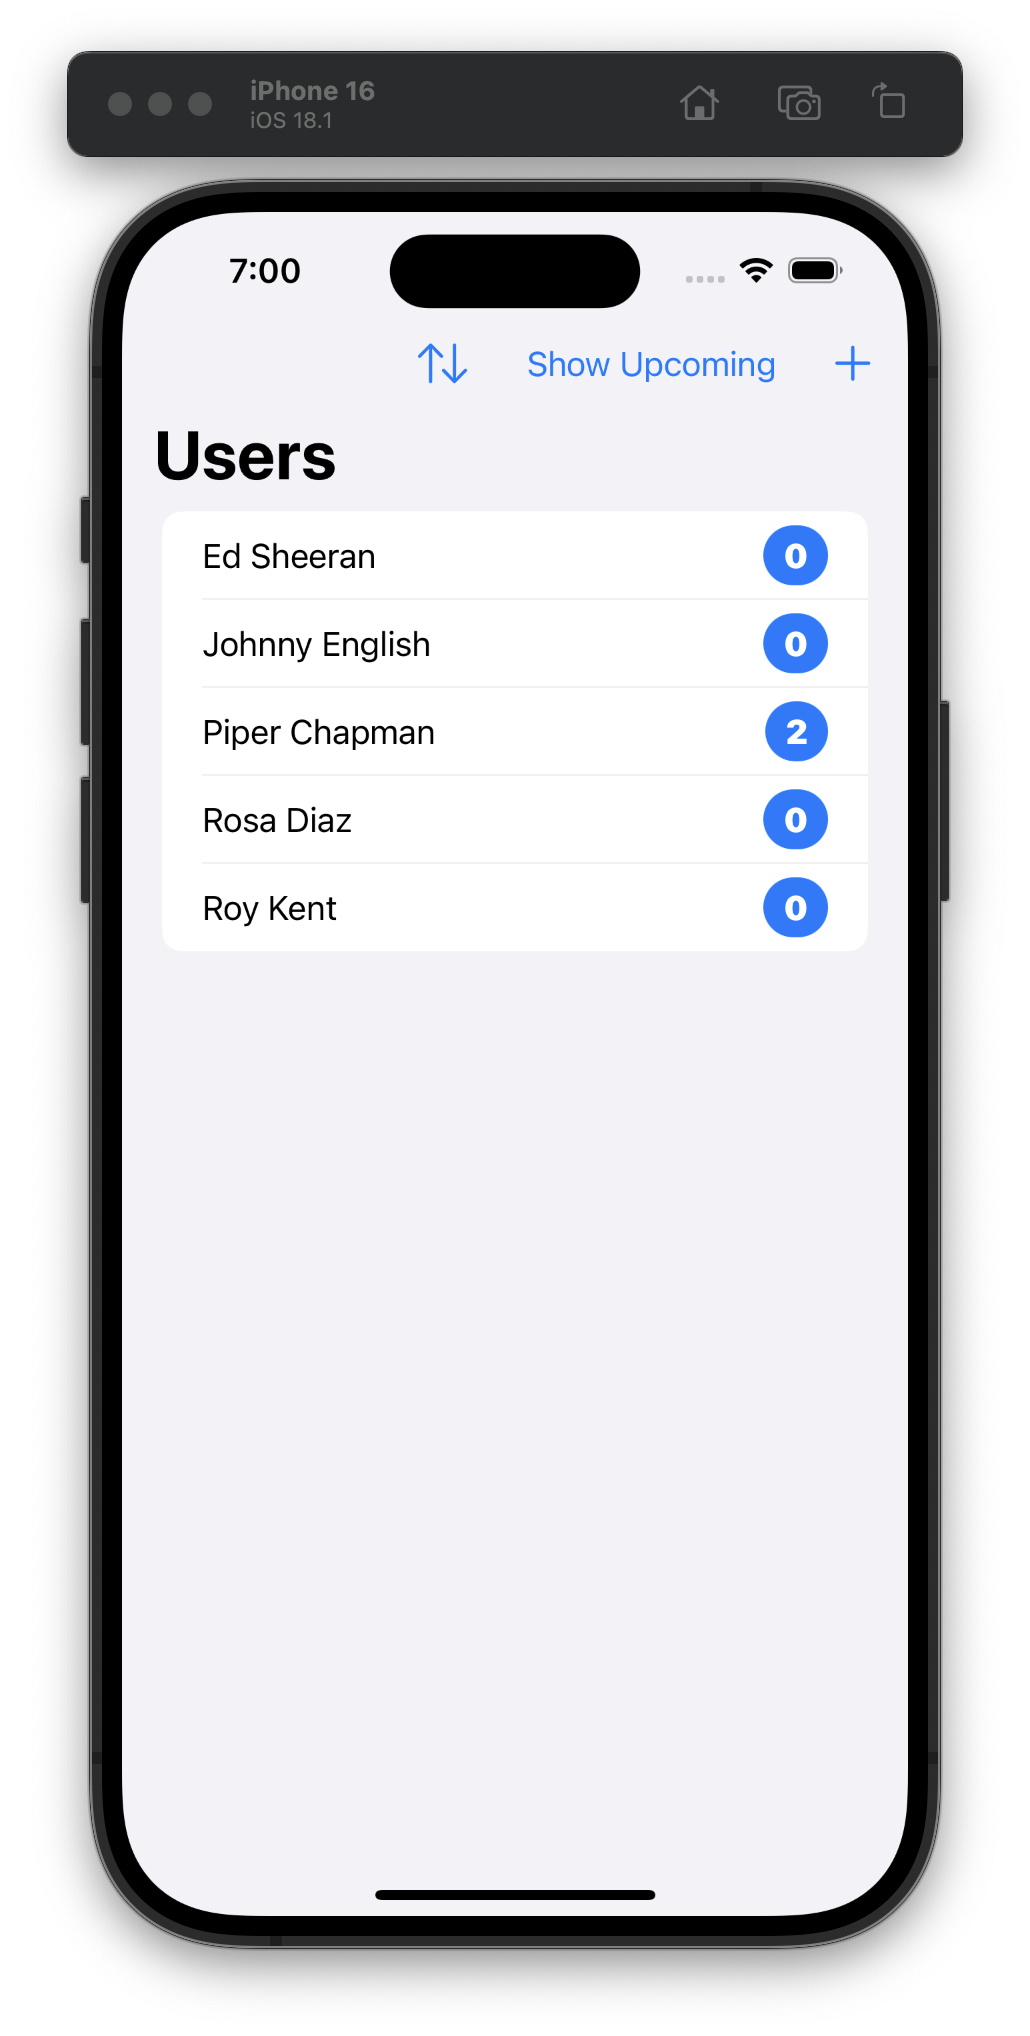
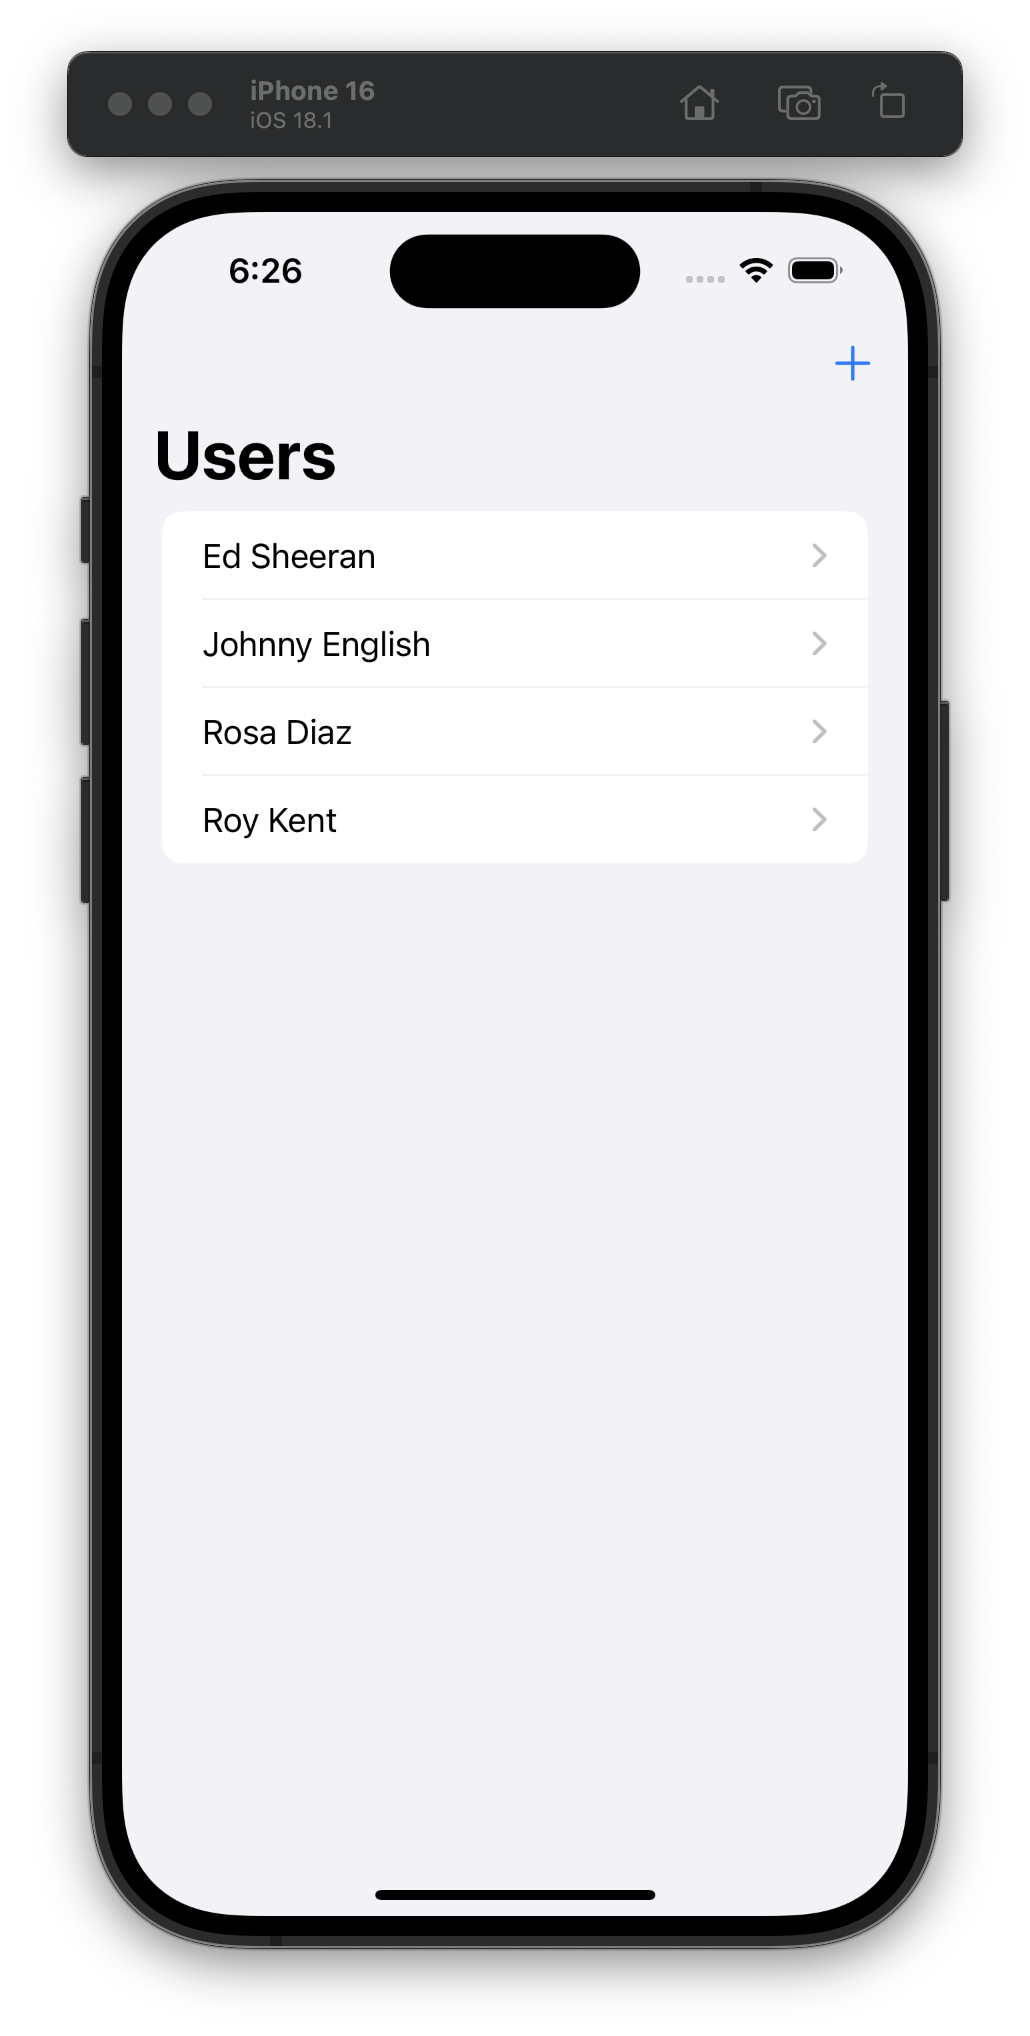
I thought yesterday was our most difficult day so far… now Day 60 has surpassed it.
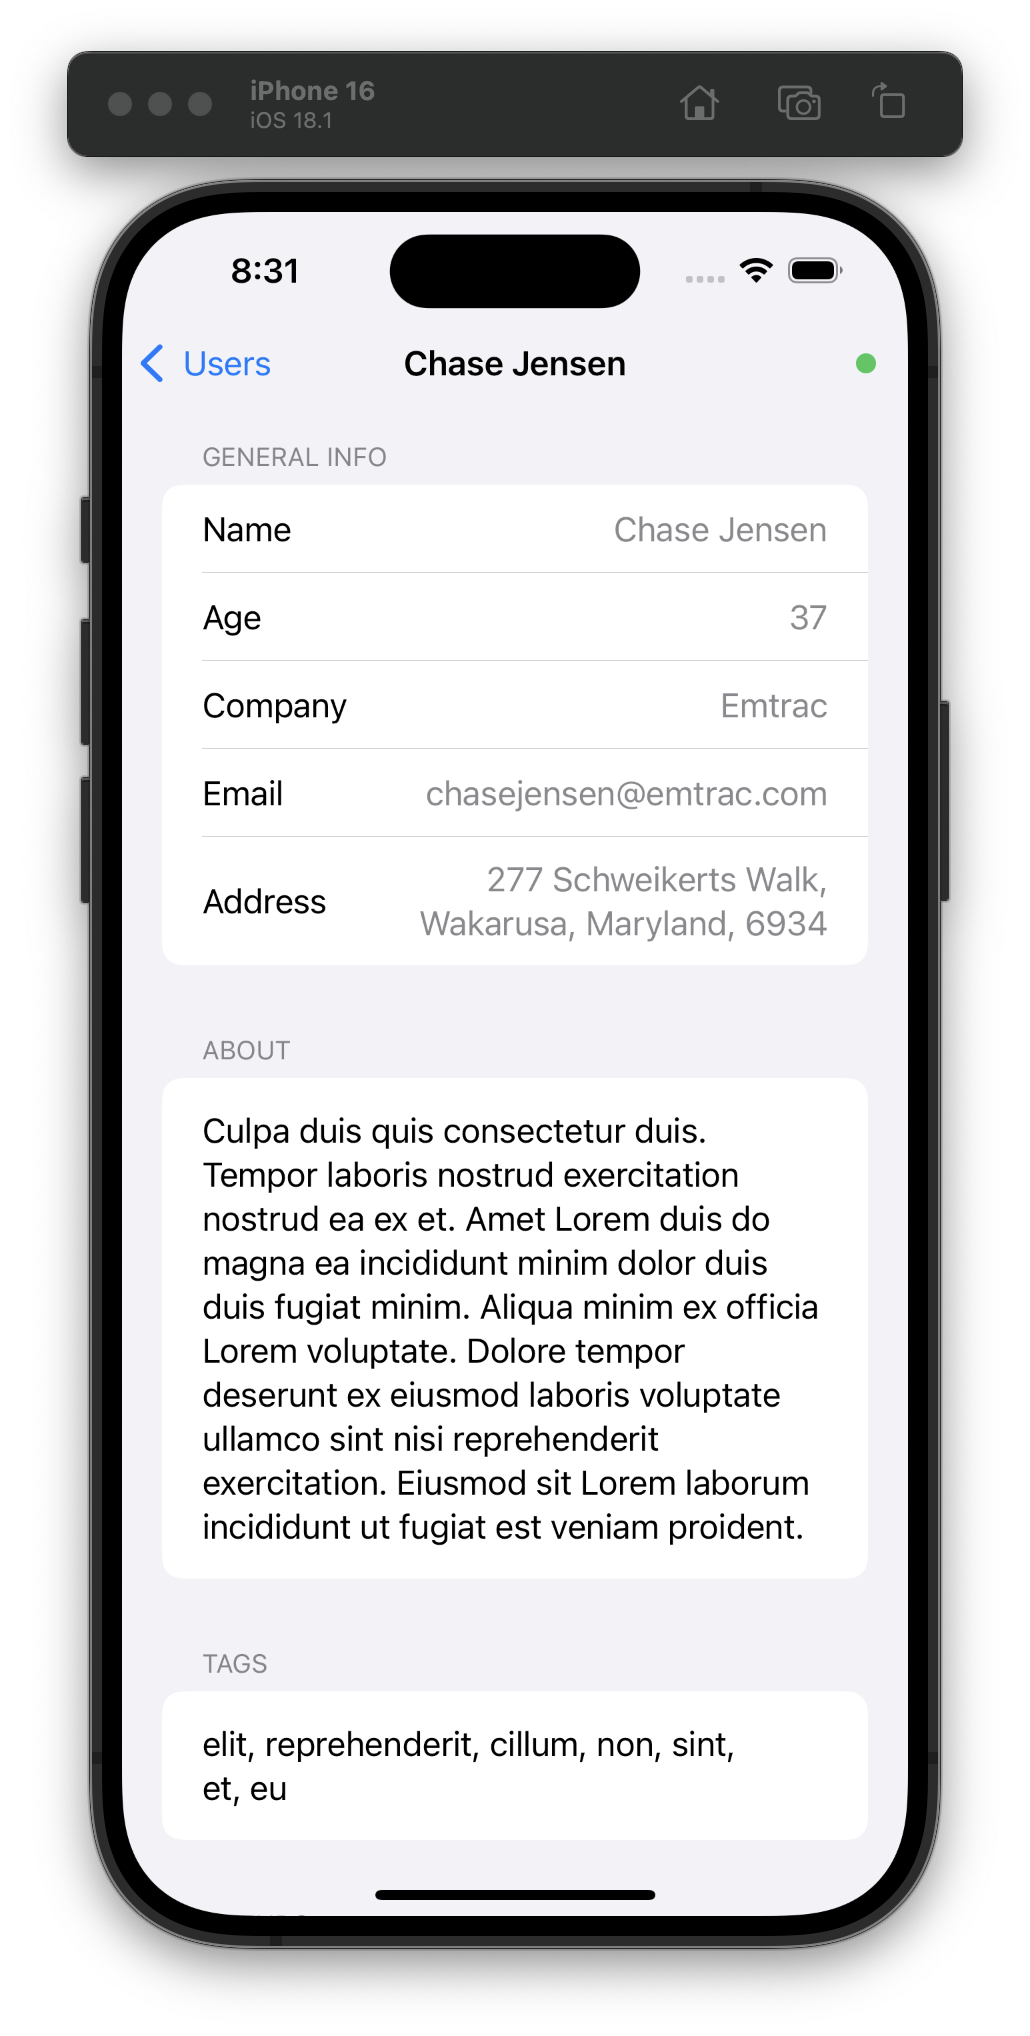
Today we built an app from scratch with just some requirements to fetch data and build a couple views. Straightforward but a lot of work! #100DaysOfSwiftUI
Wow, I’m impressed with myself for learning and SwiftData/SwiftUI for being easy.
For Day 59, we had to go back to an old app and upgrade it to use SwiftData, add sorting, and add filtering. It took me about an hour to do everything, which is a lot faster than I expected. #100DaysOfSwiftUI
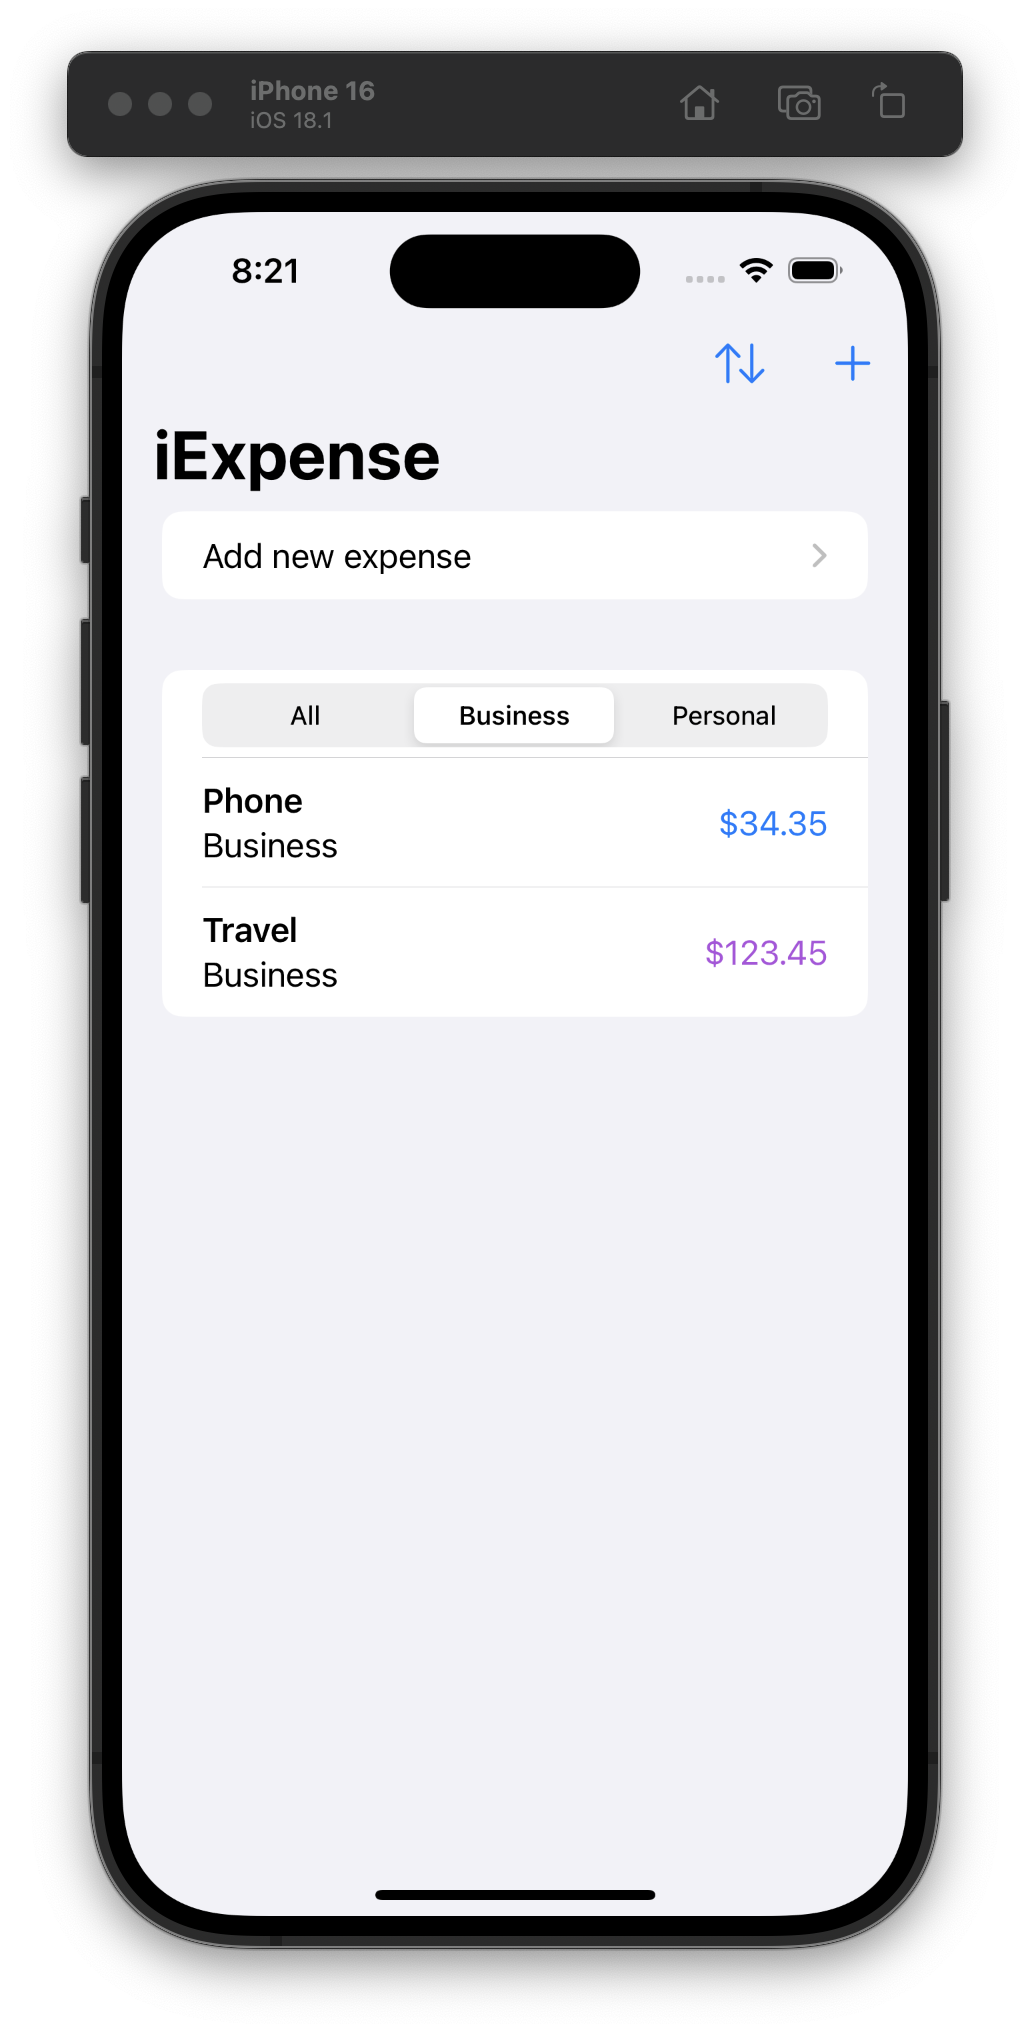
Day 58: Continuing yesterday’s project and learning about NSPredicate, changing fetch requests dynamically, and creating relationships. One of today’s sections is about syncing SwiftData with CloudKit, but I skipped it because I don’t have a paid developer account (yet)! #100DaysOfSwiftUI
Starting a new project for Day 57, so don’t have much to show so far. We’re learning how to edit SwiftData objects with SwiftUI and filter data using #Predicate. #100DaysOfSwiftUI
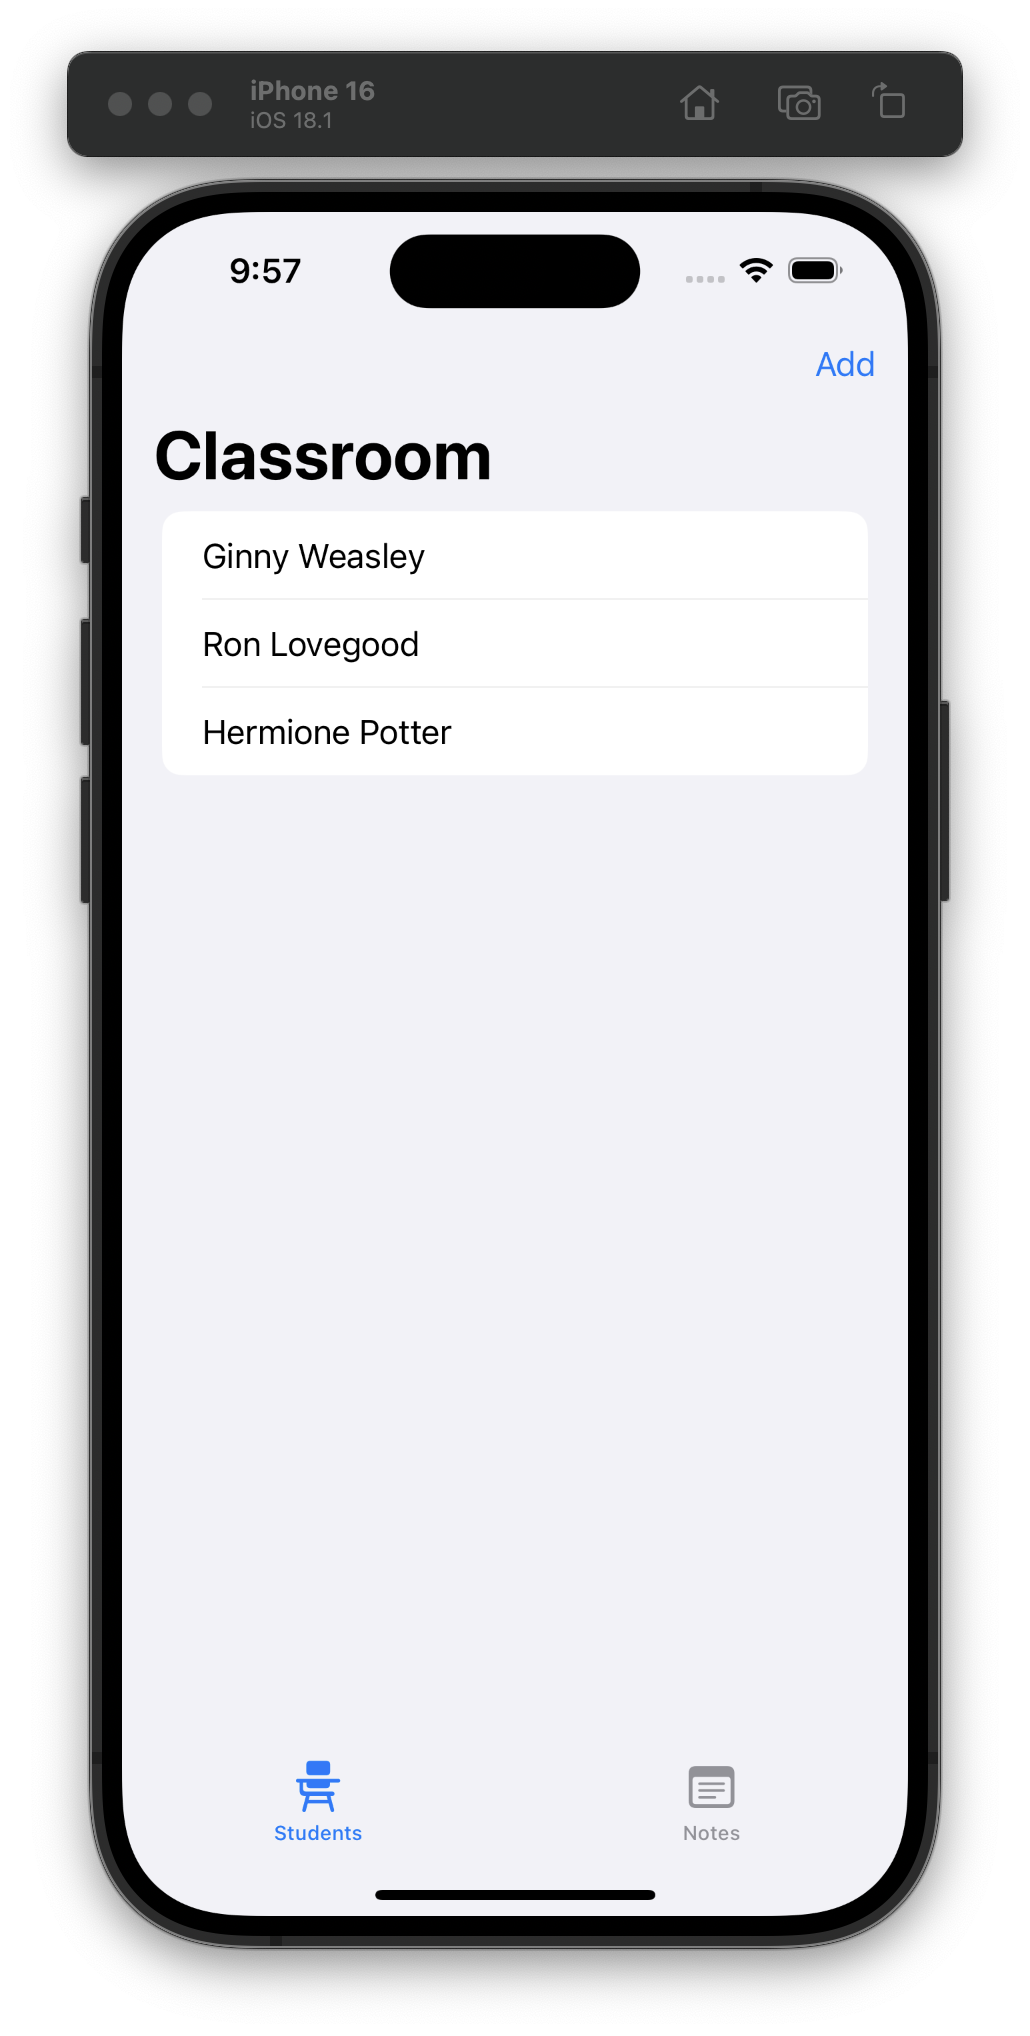
Day 56 was a review and challenge (on our own) day, so I updated the detail view to handle missing data more gracefully. #100DaysOfSwiftUI
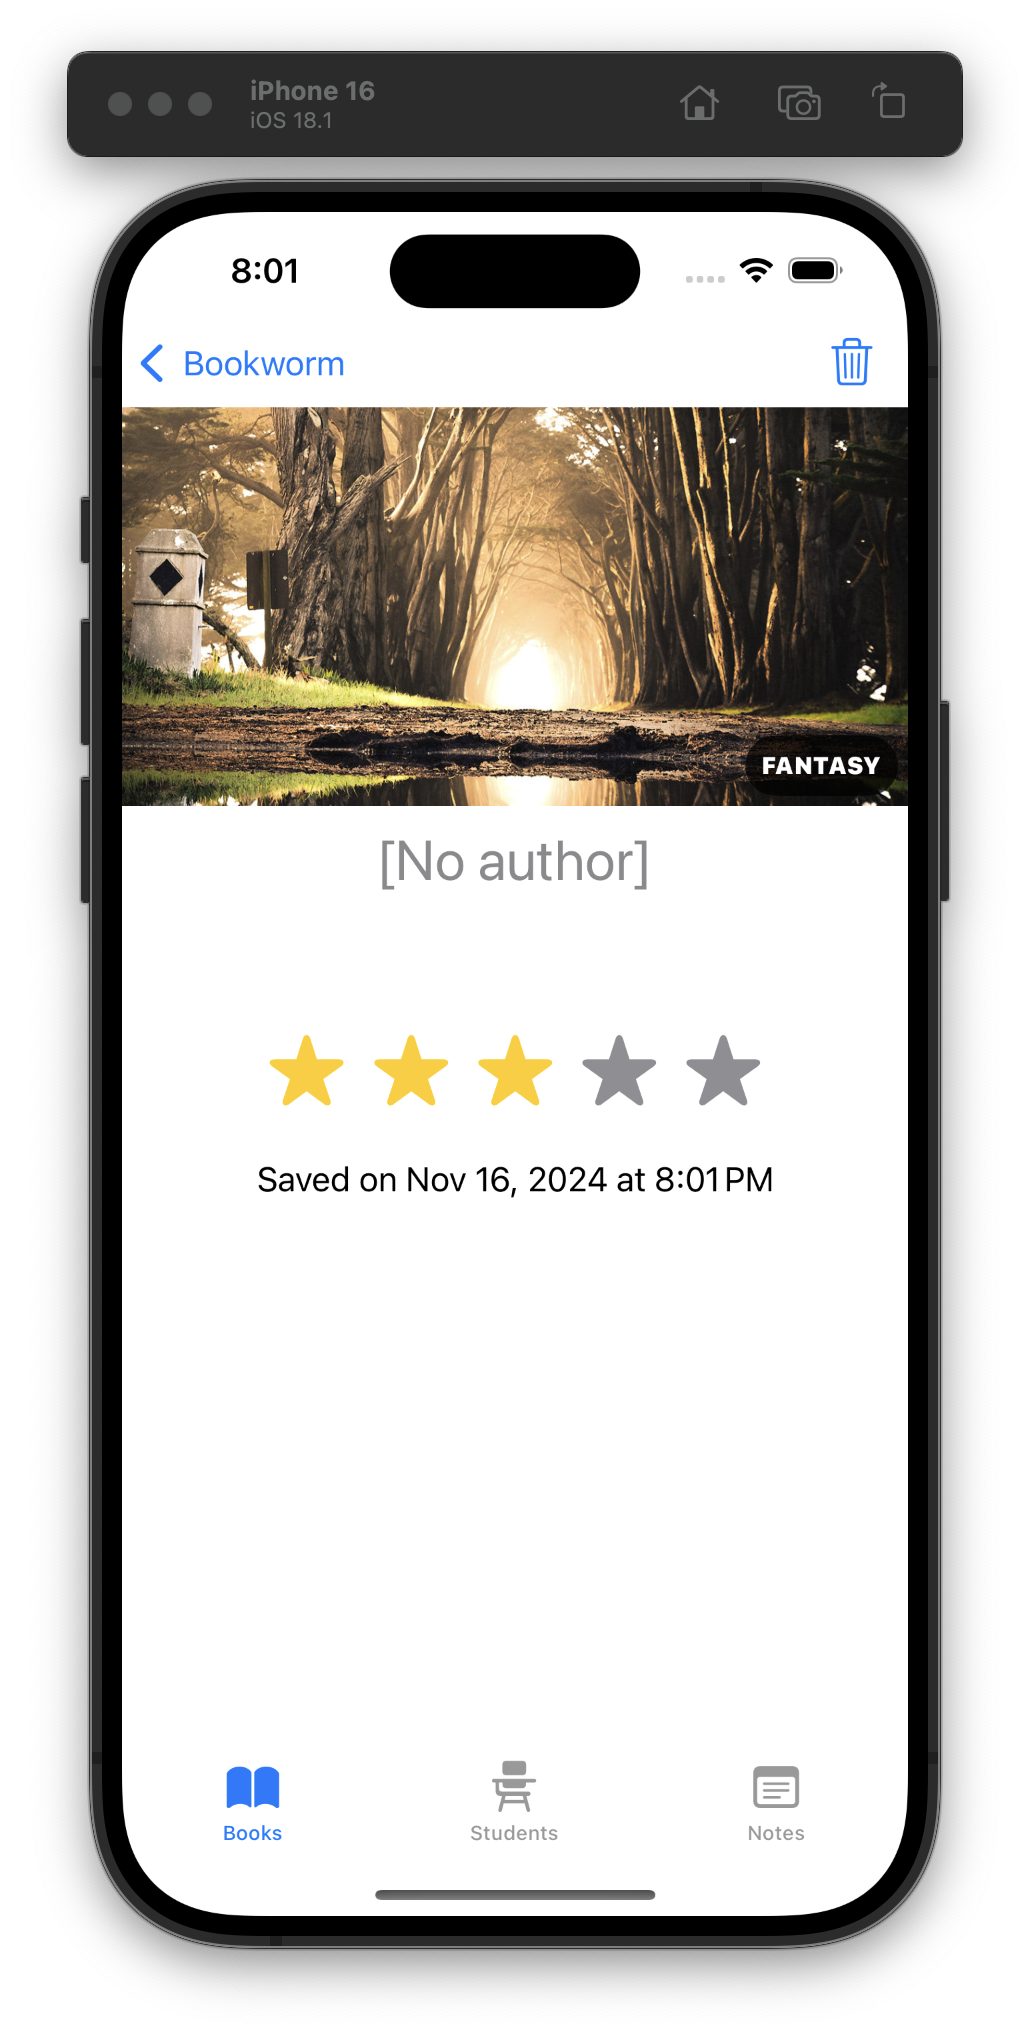
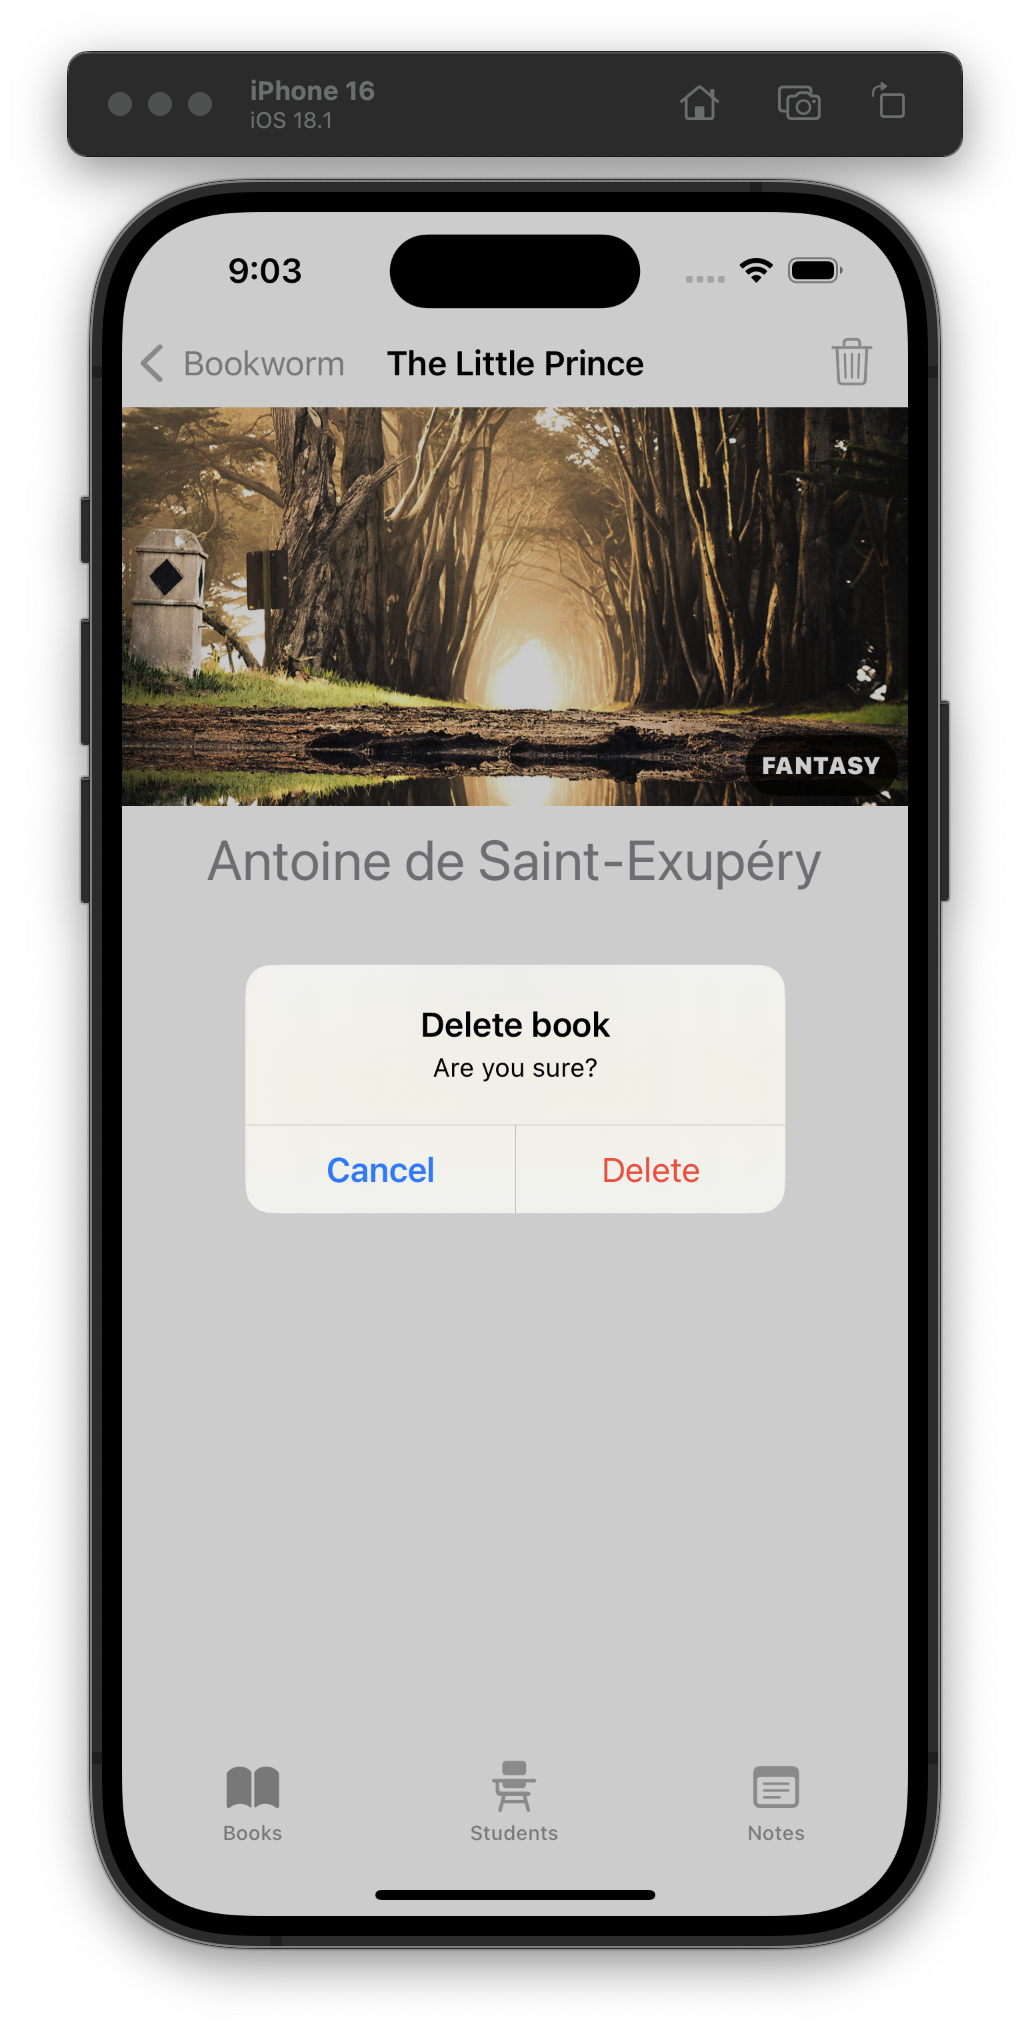
For Day 55 we learned how to delete SwiftData objects, sort queries using SortDescriptor, and add custom buttons to alerts. #100DaysOfSwiftUI
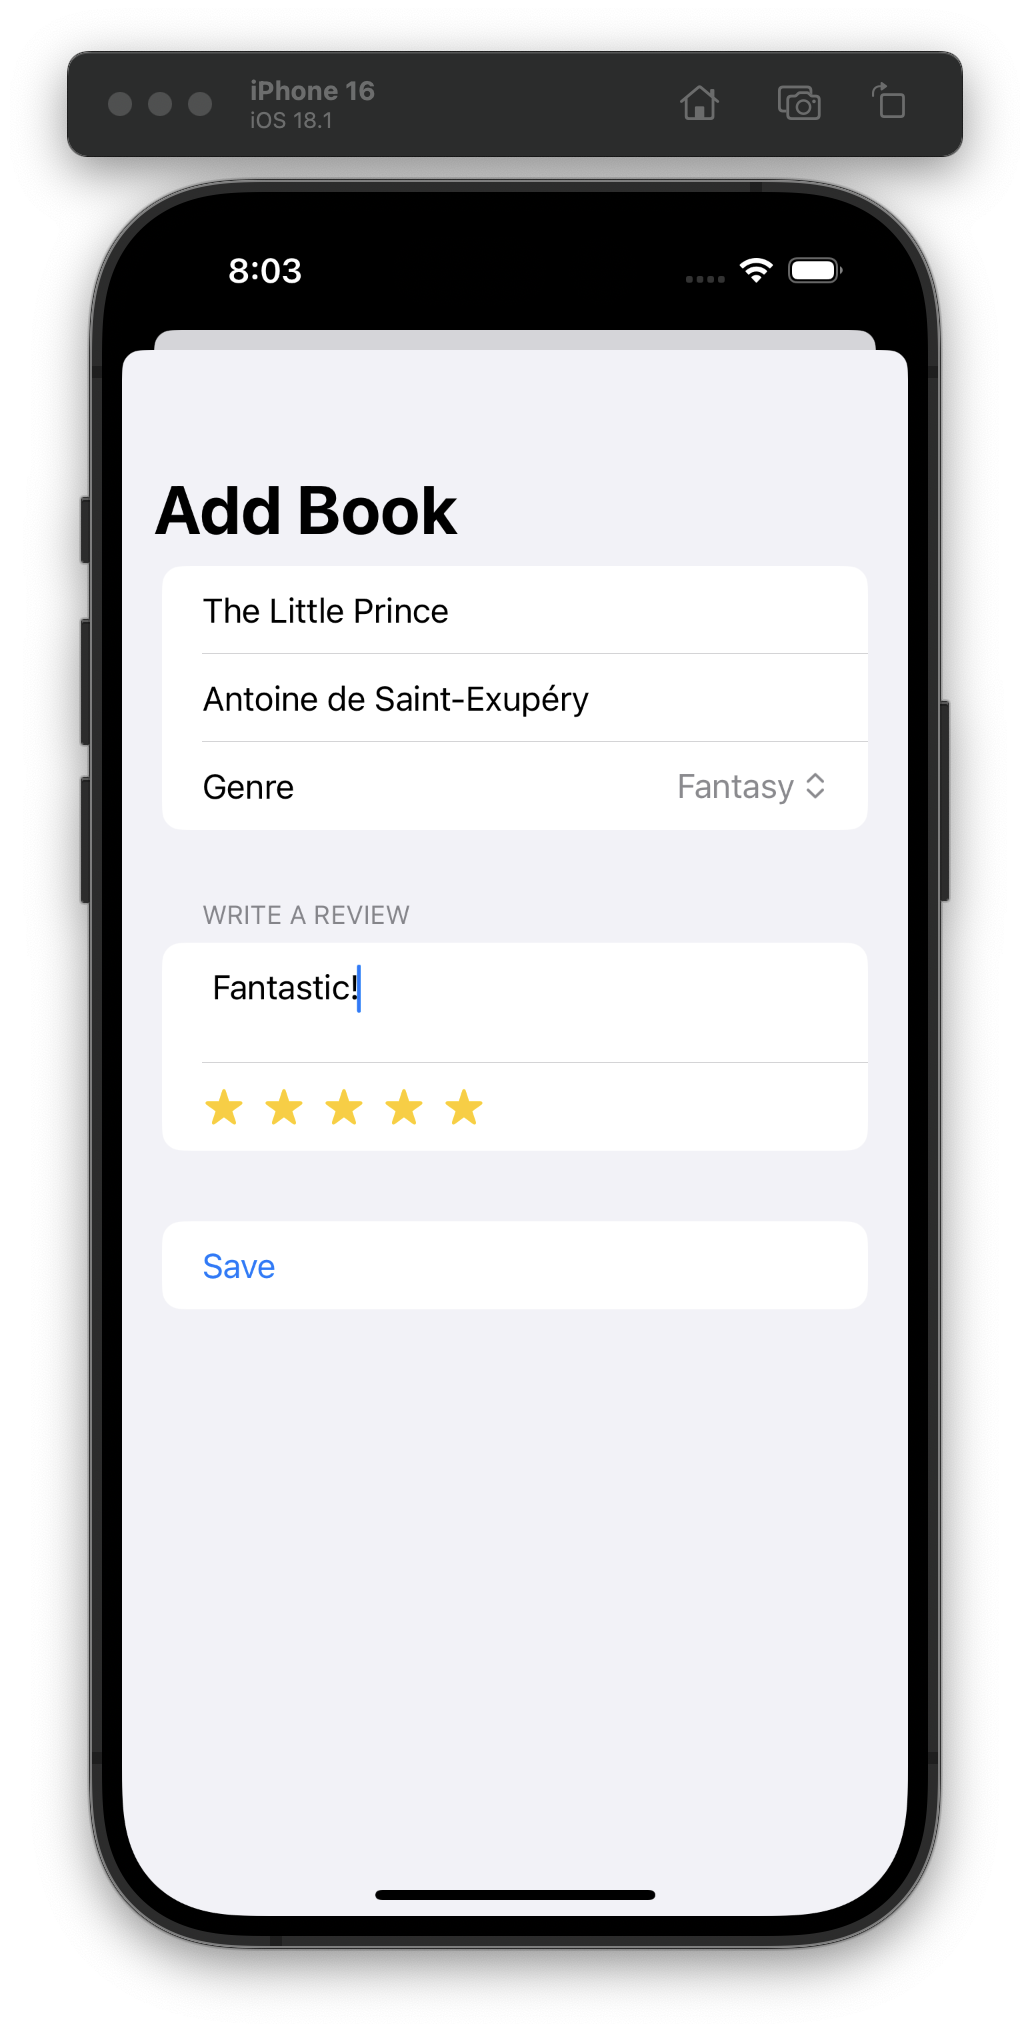
For Day 54, we earnestly started the implementation of a “Bookworm” app and created new SwiftData models and SwiftUI components.
I think the only new APIs were .constant() and using .buttonStyle(.plain) to disable the whole “tap the row to trigger its buttons” behavior. #100DaysOfSwiftUI
Day 53 is the start of our first project with SwiftData. So far all the terminology reminds me of my Core Data days. #100DaysOfSwiftUI
Day 52 is a review quiz and challenge day. I found the challenges pretty easy this time around! #100DaysOfSwiftUI